How do you install a furnace in a Garage?

Heating from a garage furnace is an excellent solution for expanding your living or working area during the cold months of the year. Turn your garage into a heated workshop, family play area or game day hangout.

A licensed HVAC contractor performs this How-To guide.

The gas furnace we chose is 96% efficient. That means of all the gas you buy to heat the space, only 4% will be expelled with the exhaust.
The Installation Manager visits the job site before the install date to consult on location and measurements for furnace placement and electrical and gas connection locations. The unit must have a dedicated circuit for power. The gas line is a continuous one-piece connection from the gas source to the furnace.
Step 16 : Prepare for startup.
Total Time Needed: 1 day

Required Tools:

- Pipe Wrenches
- Plyers
- Tin Snips
- Drill with masonry bit
- Hole Saw
- Ladder
- Scaffolding
- Electrical Testers/Multimeter
- Battery Powered/Cordless Drill
- Tape Measure
- Hammer
- Screw Drivers
- Hex Head Nut Drivers
- Caulking Gun
- Level
- Shears
- Folding Bar
- Hand Seamers
- Crimpers
- Tubing Cutter
- Manifold Gauges

Materials Needed:

- Furnace Unit
- Black gas pipe and fittings
- Pipe sealant
- Sheet Metal
- Power Switch and cable
- Flexible gas hose
- Ball valve
- Level platform 30"x36"
- Air Filter
- Hose clips and screws
- Caulk

Steps to install a garage furnace:

Step 1 : Select the right furnace for your application.
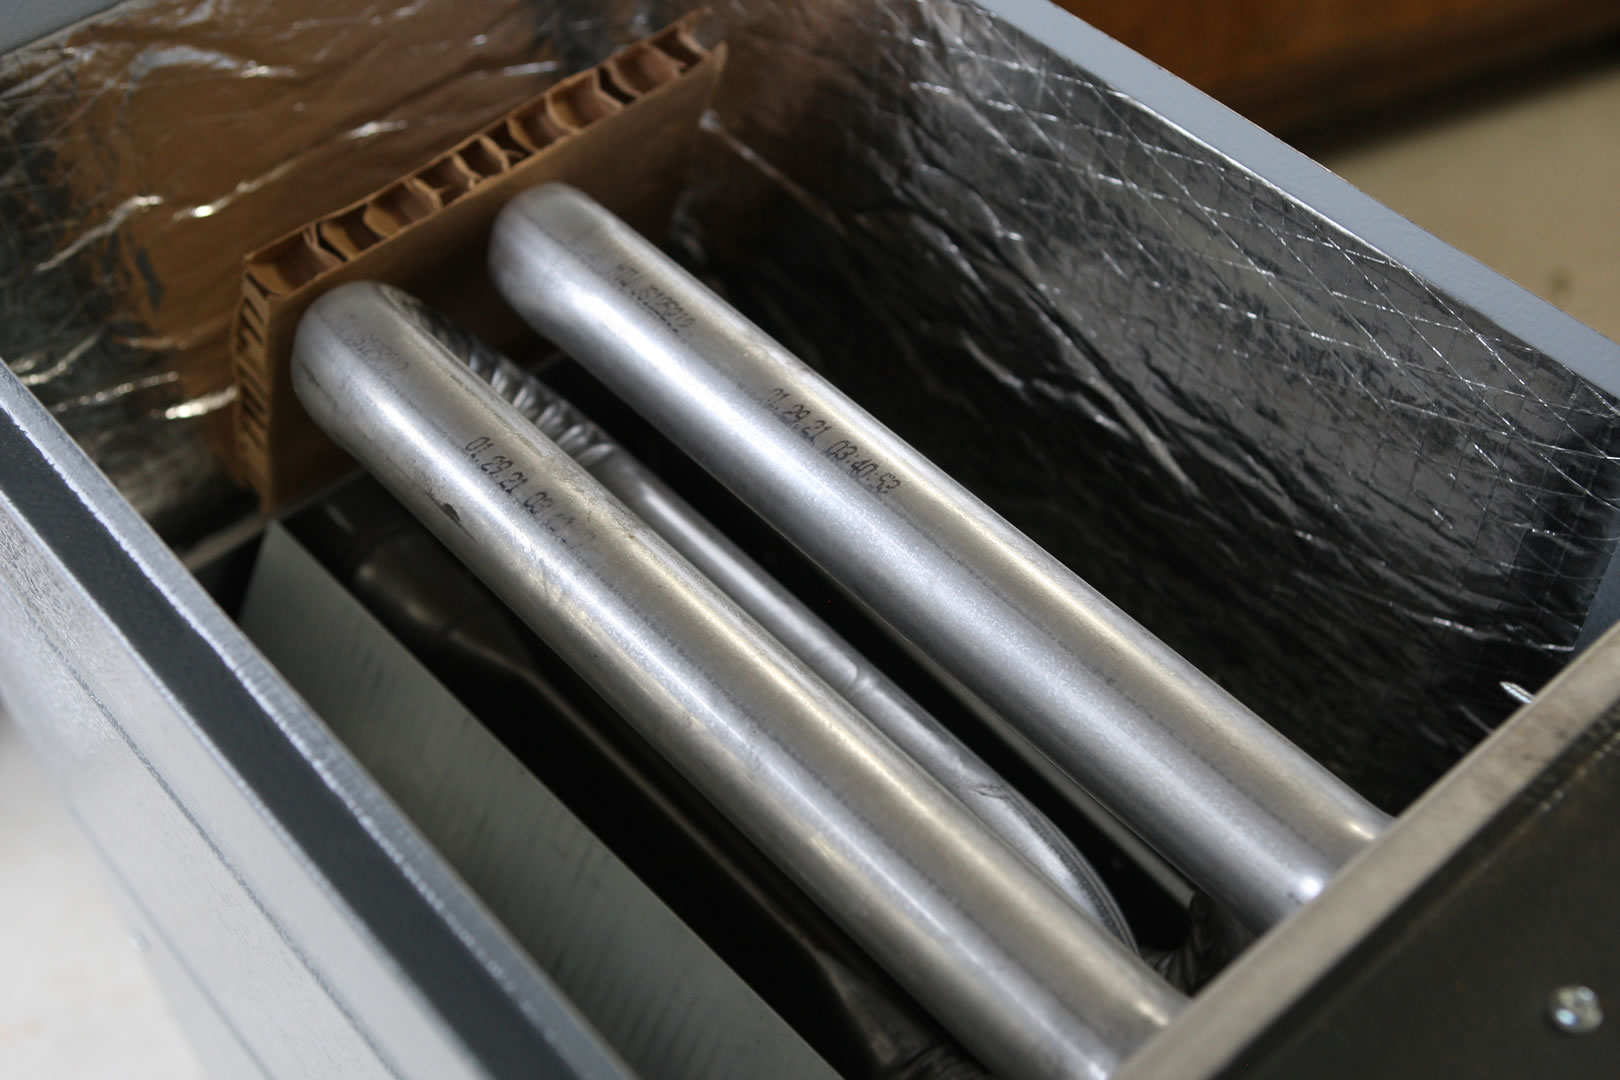
The Goodman furnace has tubular heat exchangers with high-efficiency intake and exhaust. This system is best if you are working with flammable vapours in your shop. Air intake draws from outside and exhaust gas vents to the outside. As a result, there is no open flame like some other propane garage heaters. Another advantage to using a residential-style furnace when heating a garage is the air filter. The homeowner can add a HEPA filter to trap dust particles and help keep the garage work area and the furnace blower clean and dirt-free.
1. Garage Furnace Installation - Tubular heat exchangers
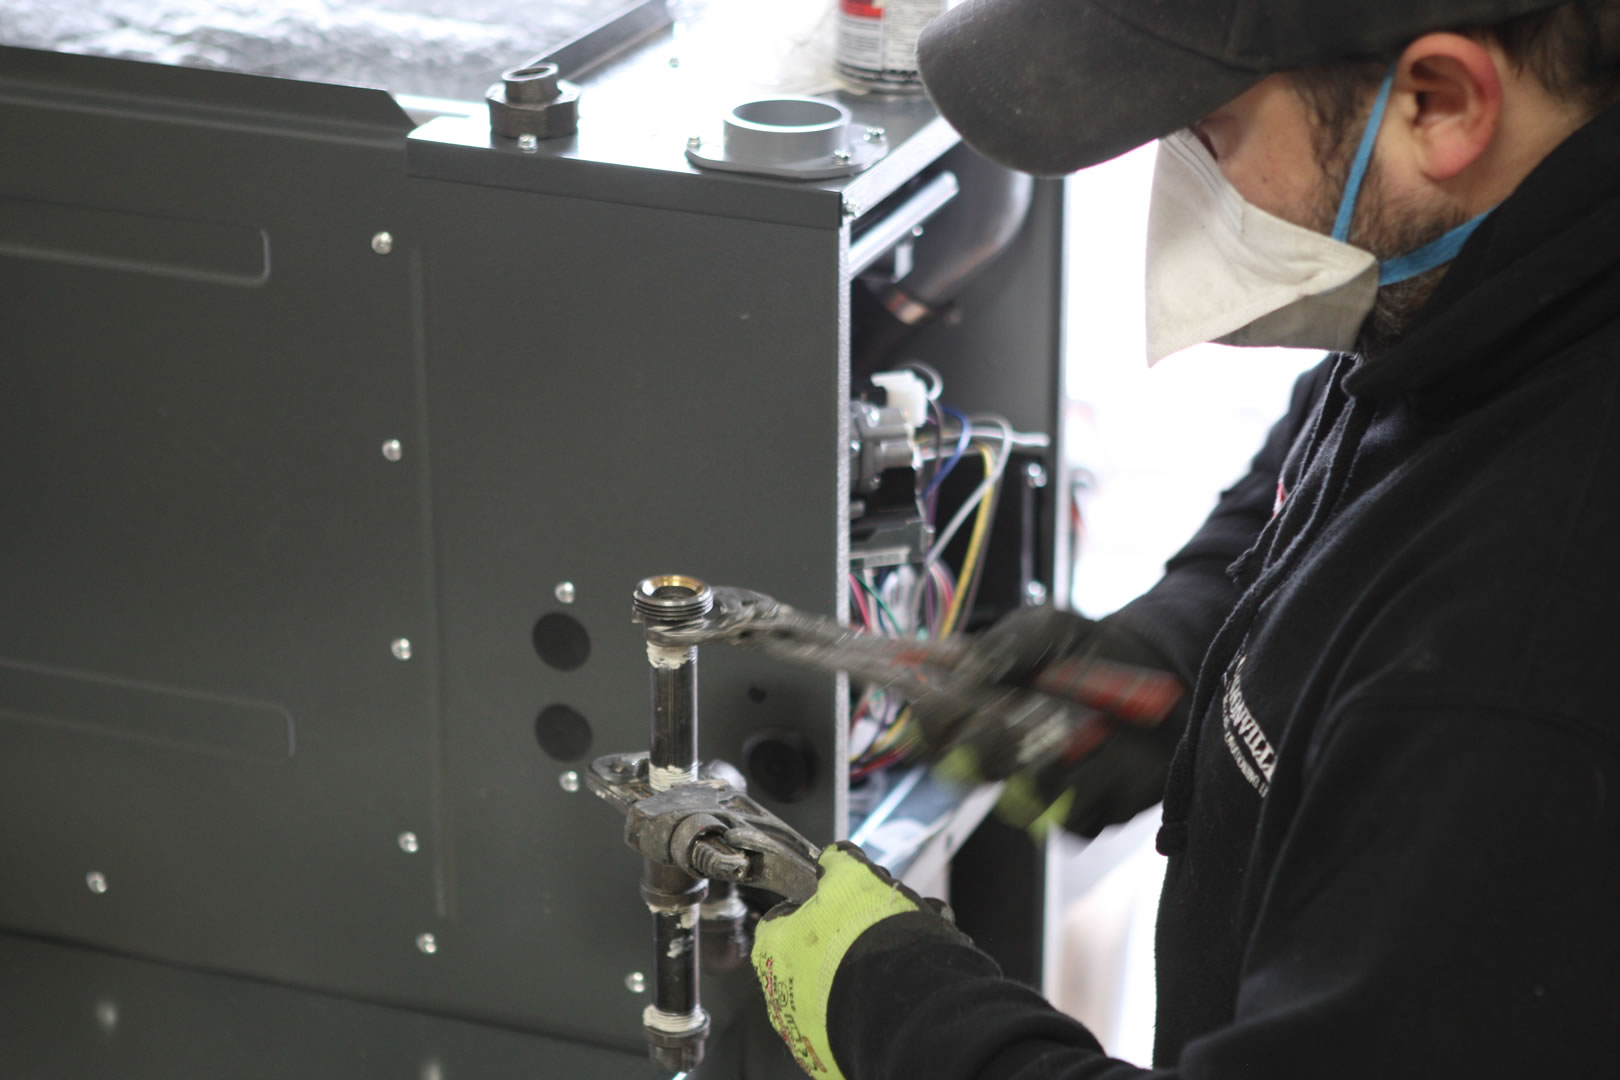
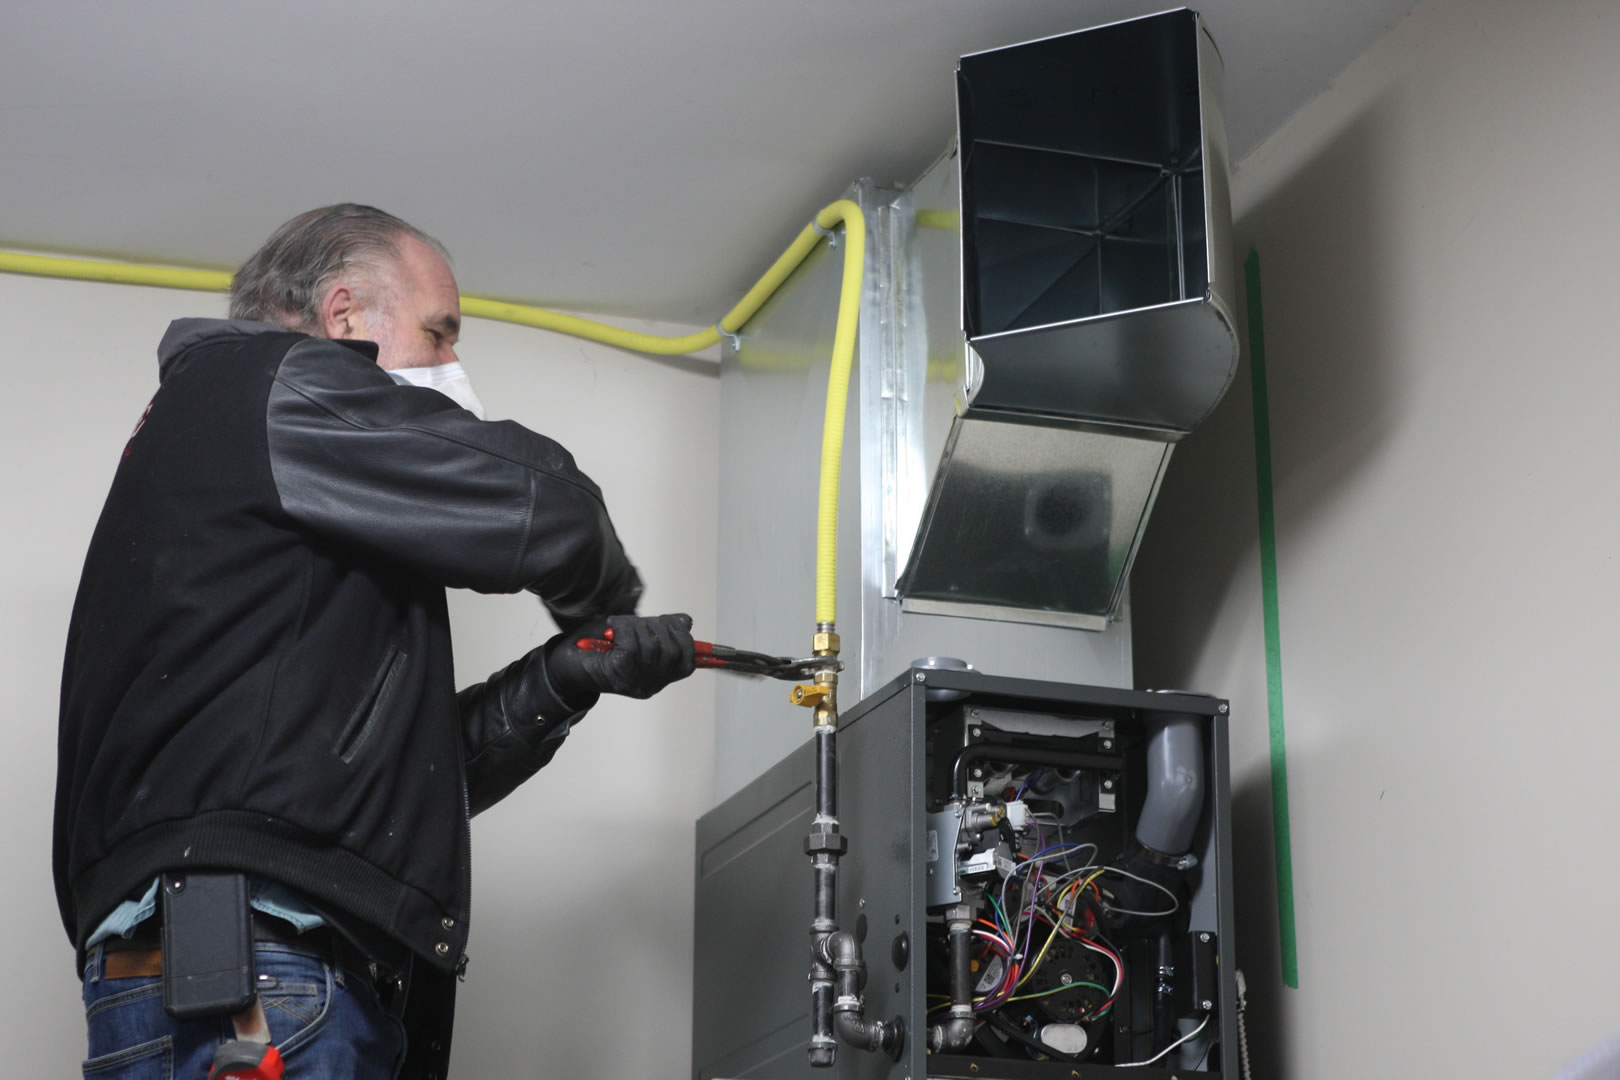
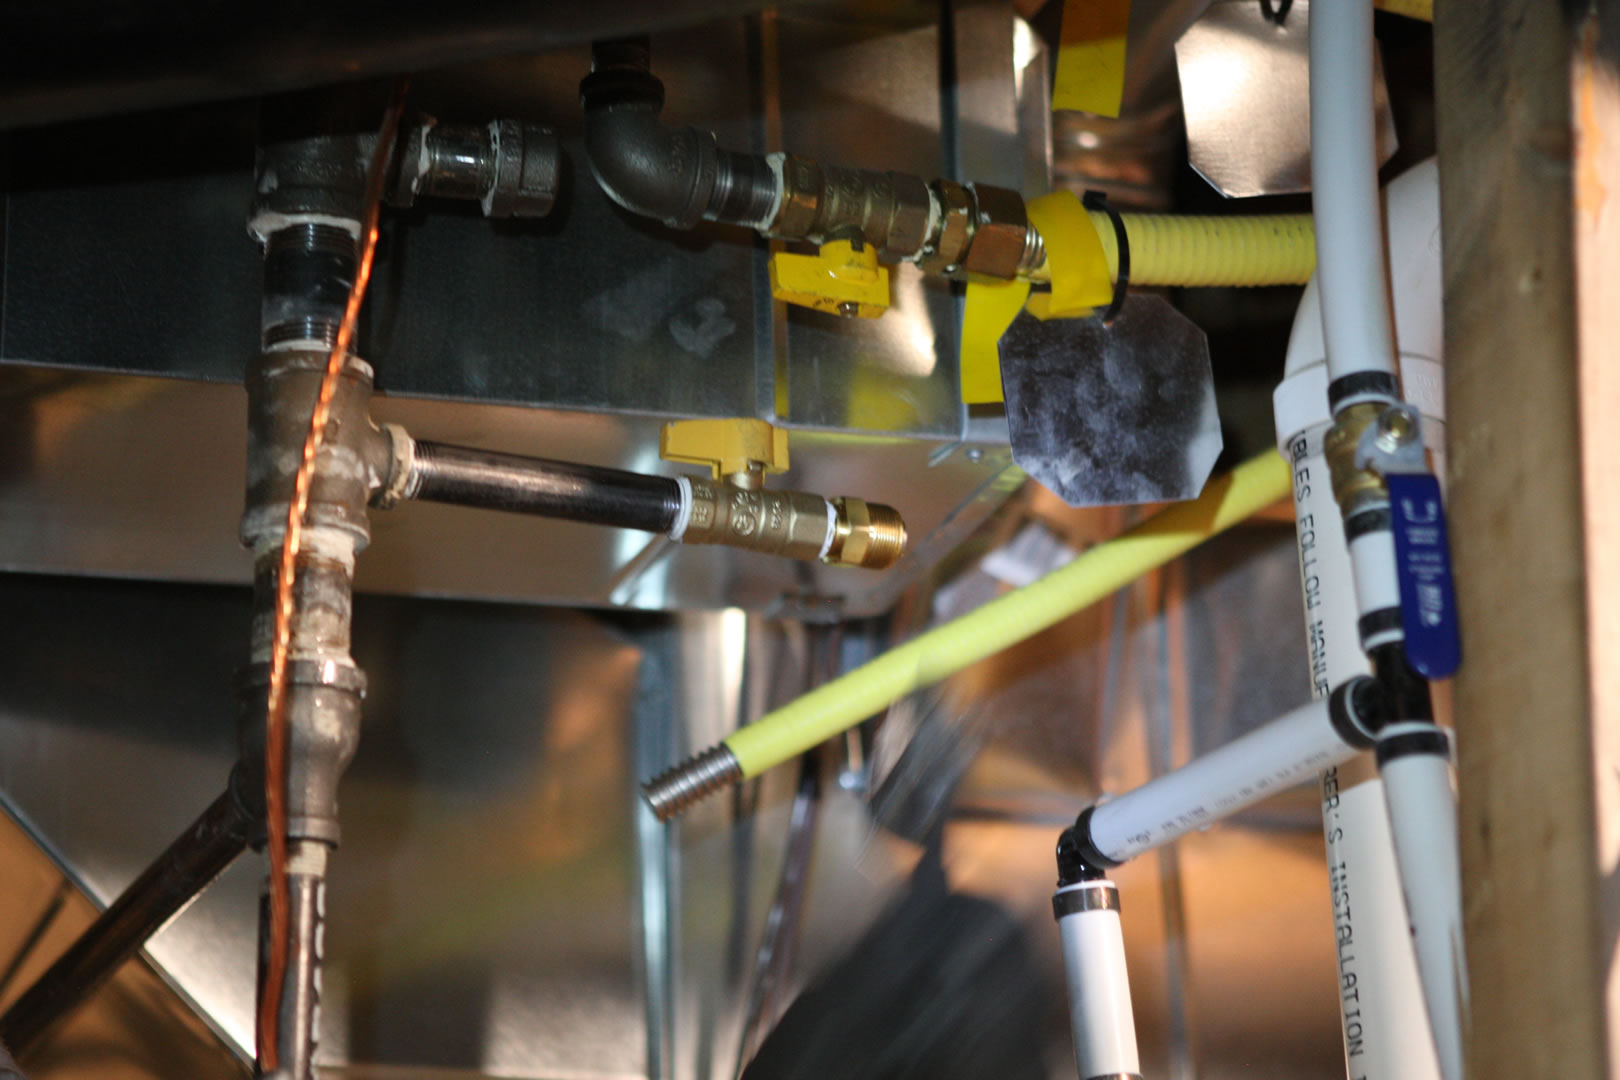
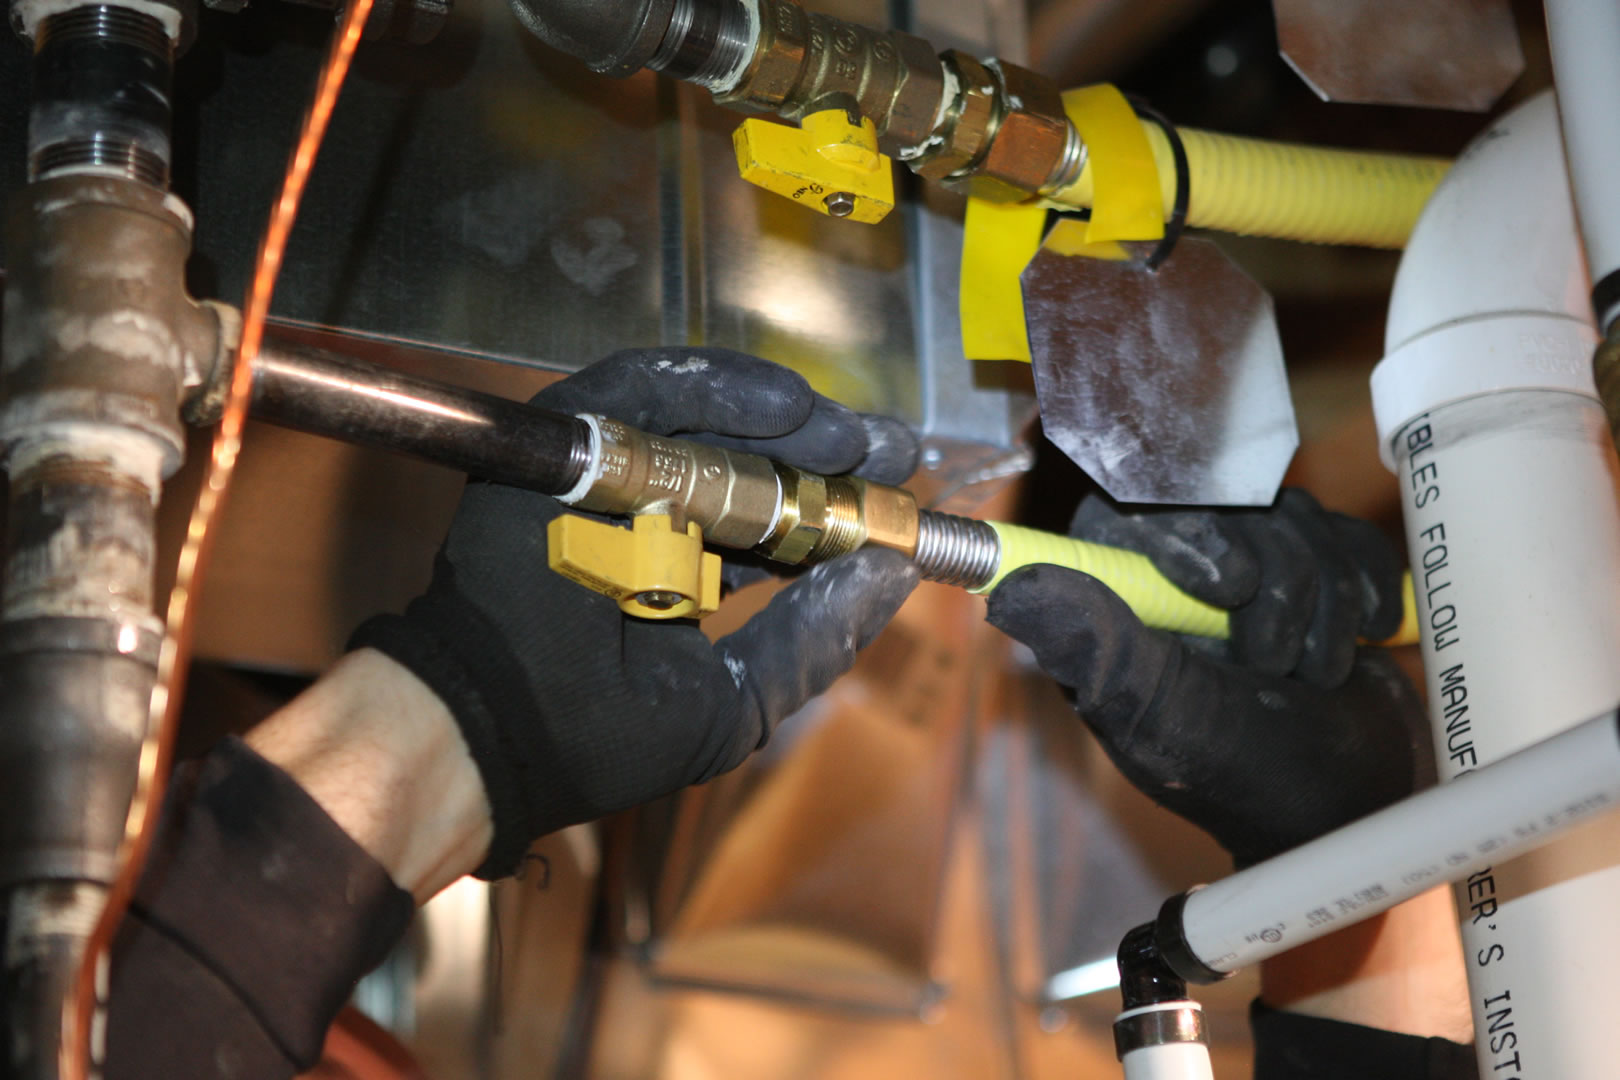
Step 2 : The technician attaches the gas fittings.
2. Garage Furnace Installation – The technician attaches the gas fittings.
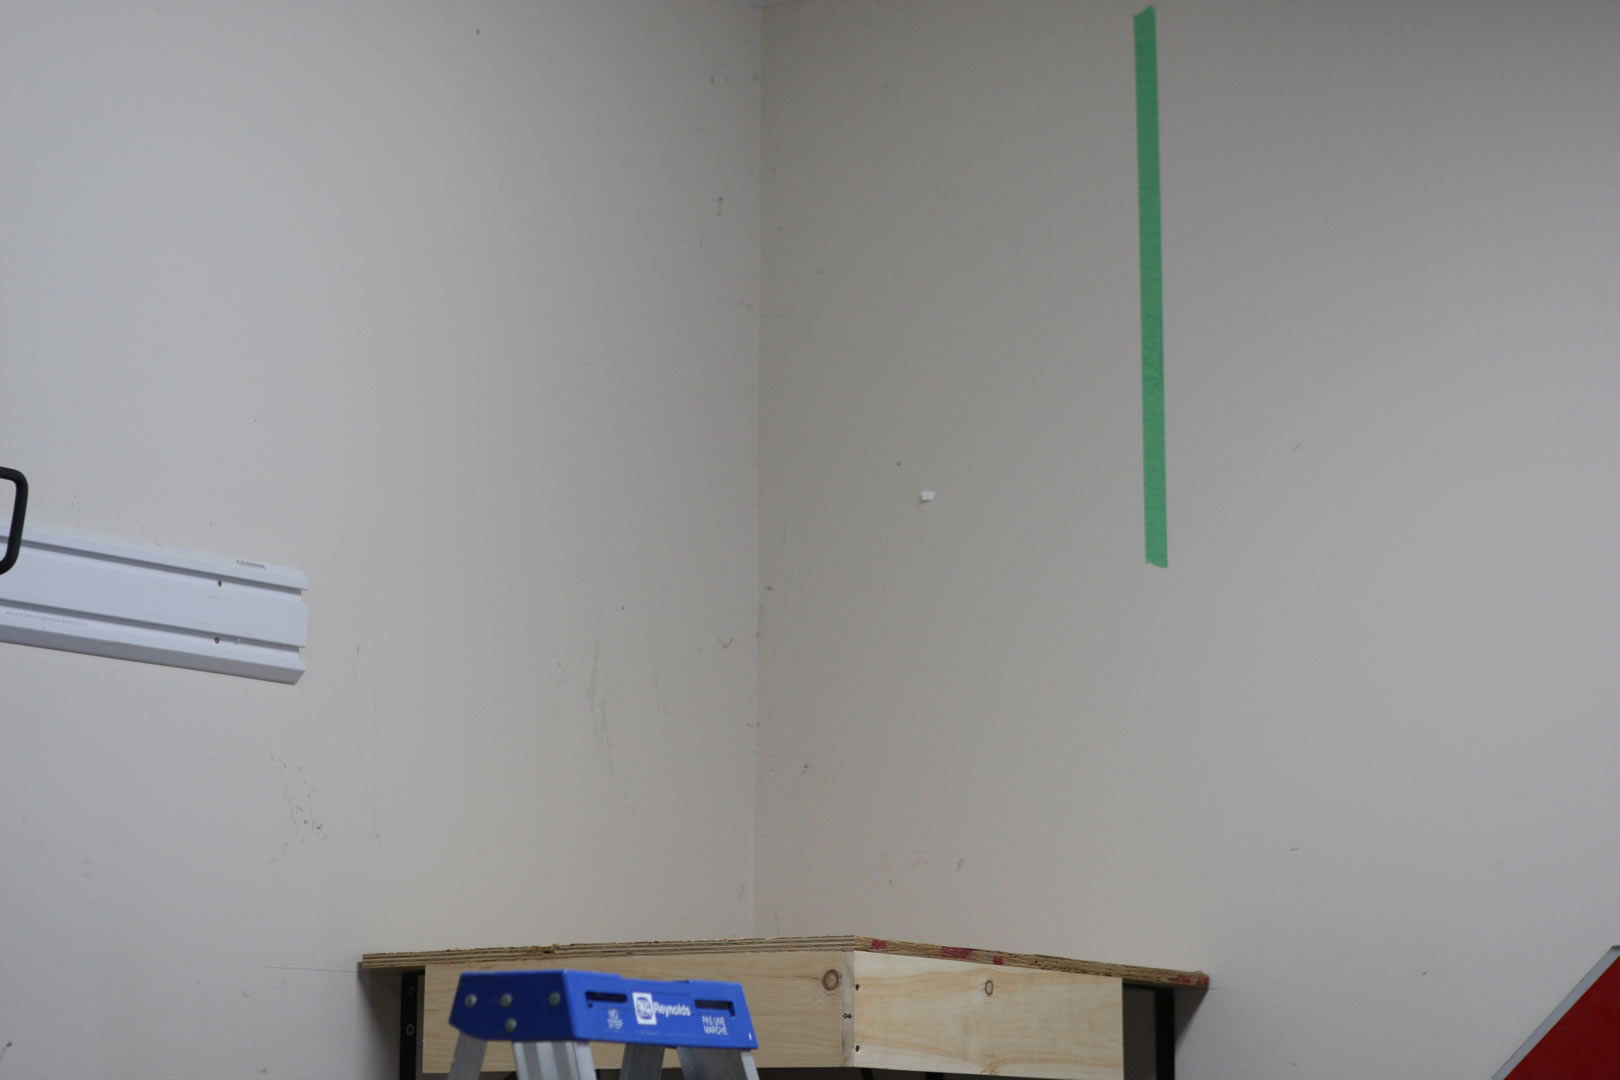
Step 3 : Install a level mounting shelf.
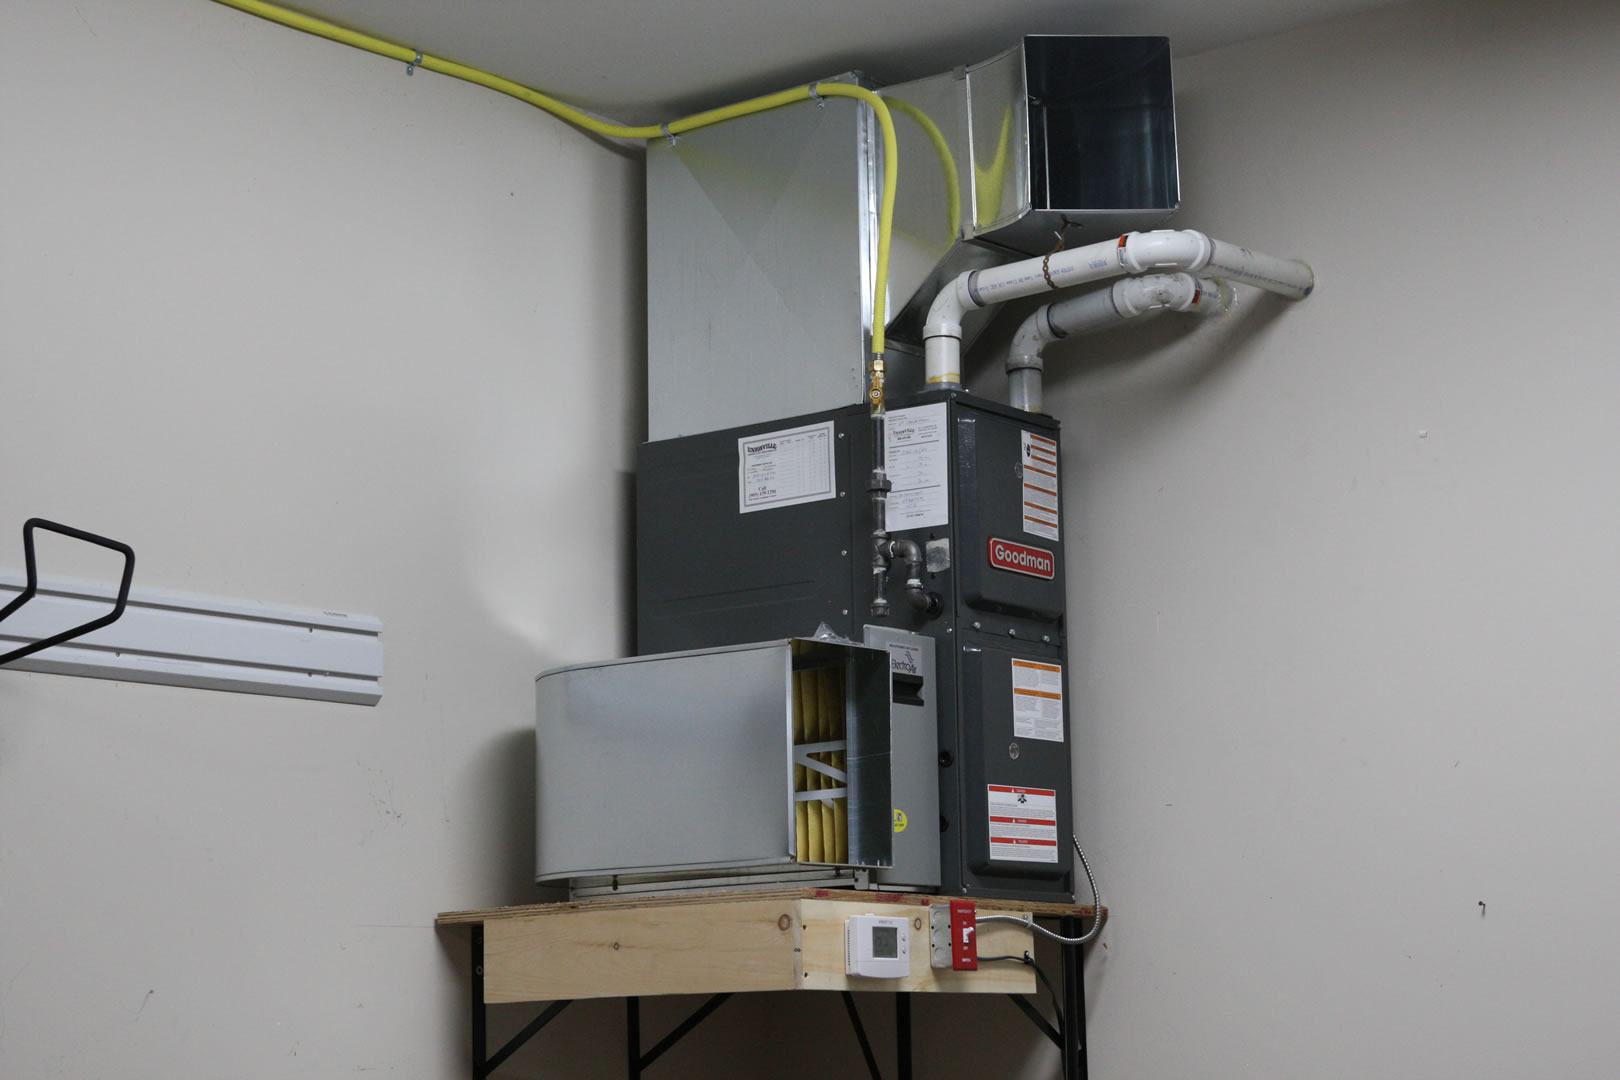
The garage in this installation is a three car space. 25 feet by 31 feet. The ceiling height is 14 feet. We wanted to mount the furnace upright in the corner and off the ground to make the space under the furnace useable.
Step 3 : Install a level mounting shelf.
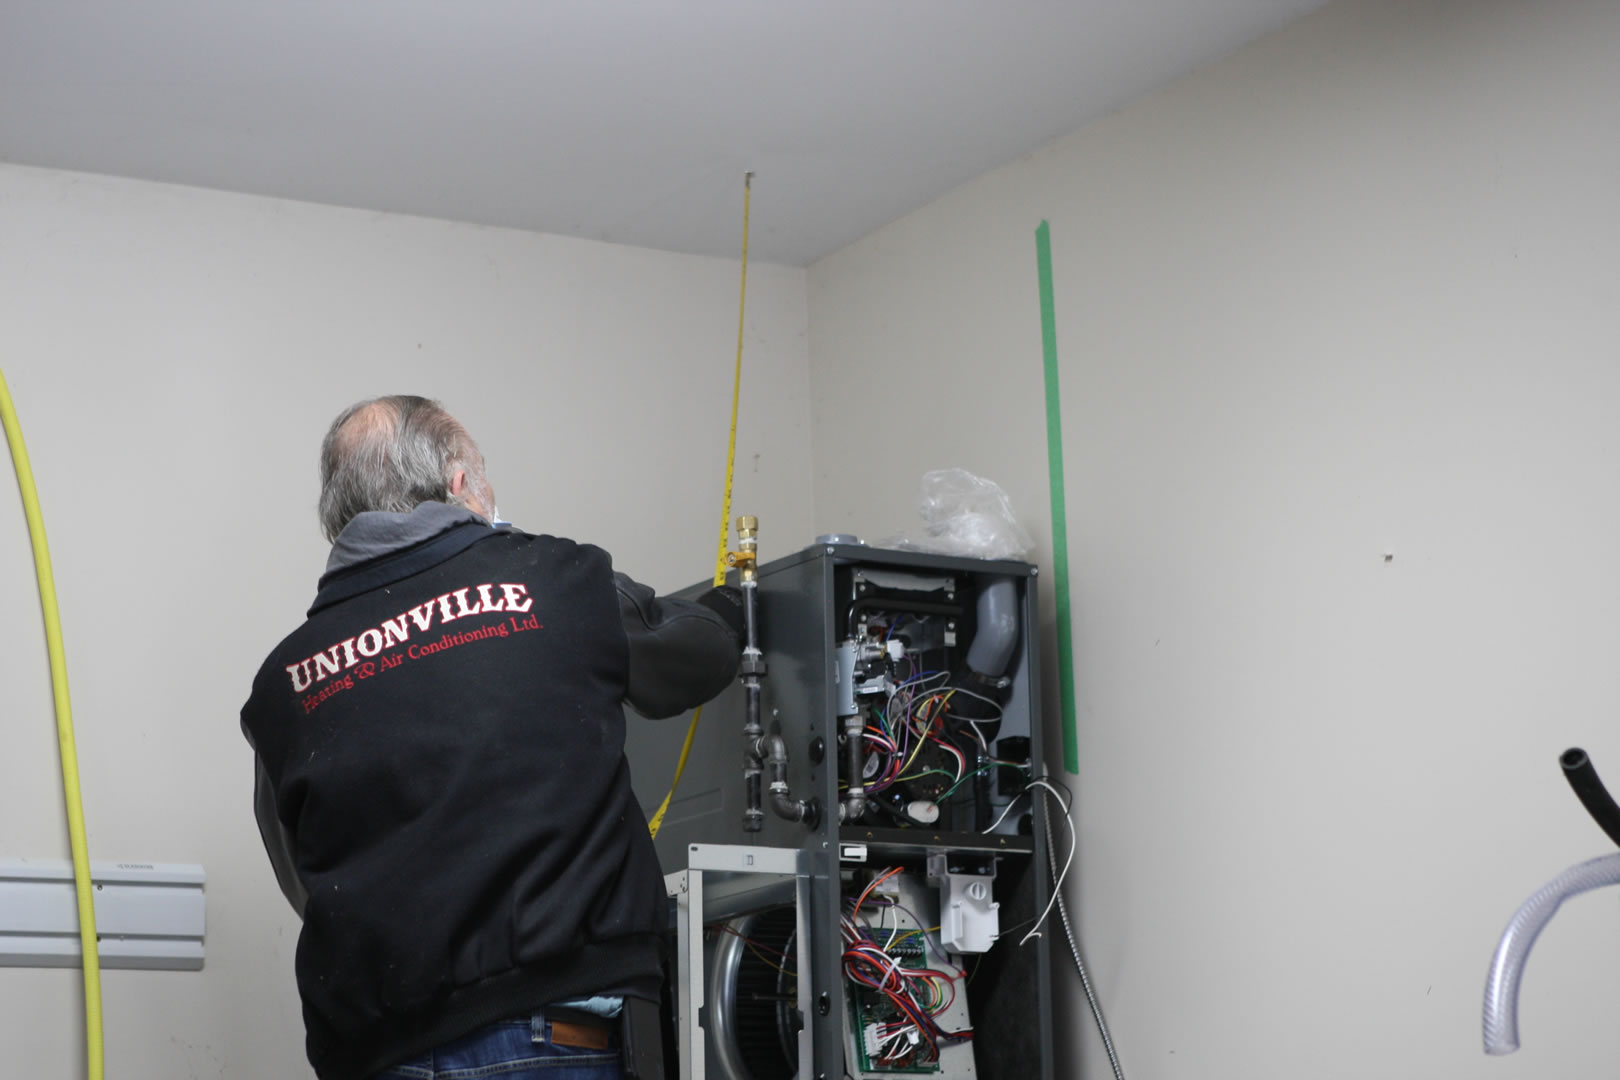
Step 4 : Measure the space for the plenum.
The Installation Manager measures the space above the furnace to fabricate the stainless-steel plenum.
Step 4 : Measure the space for the plenum.
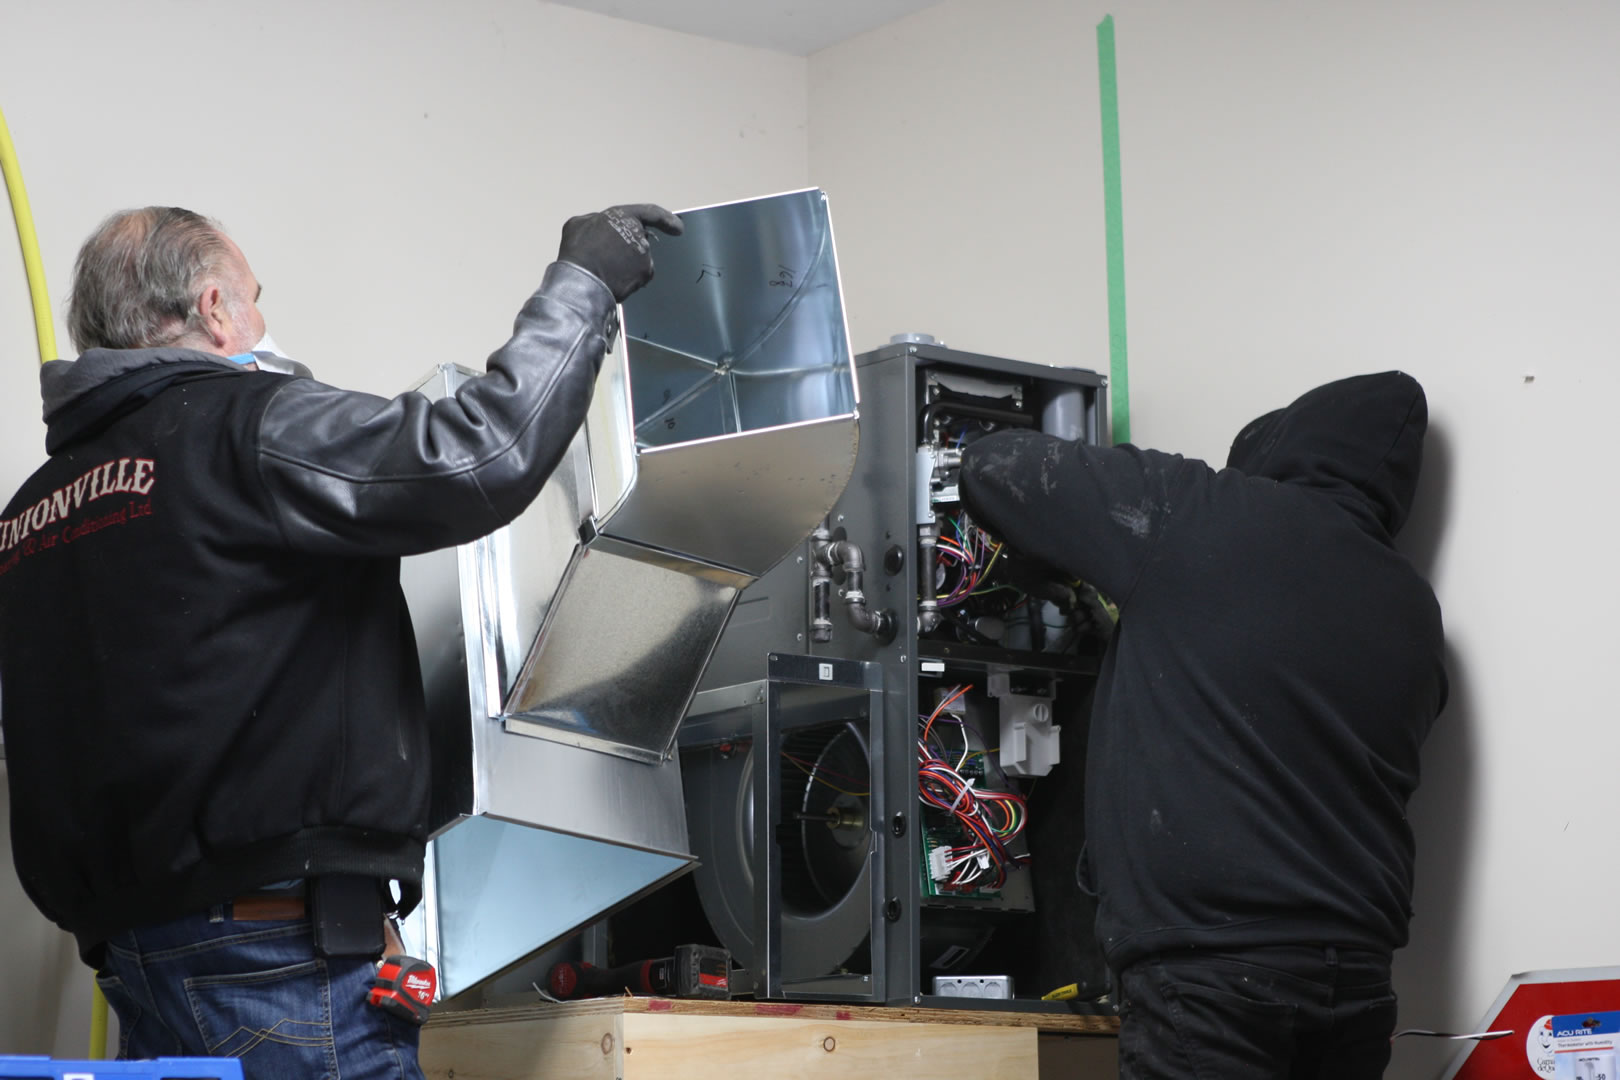
Step 5 : The plenum is lifted onto the furnace.
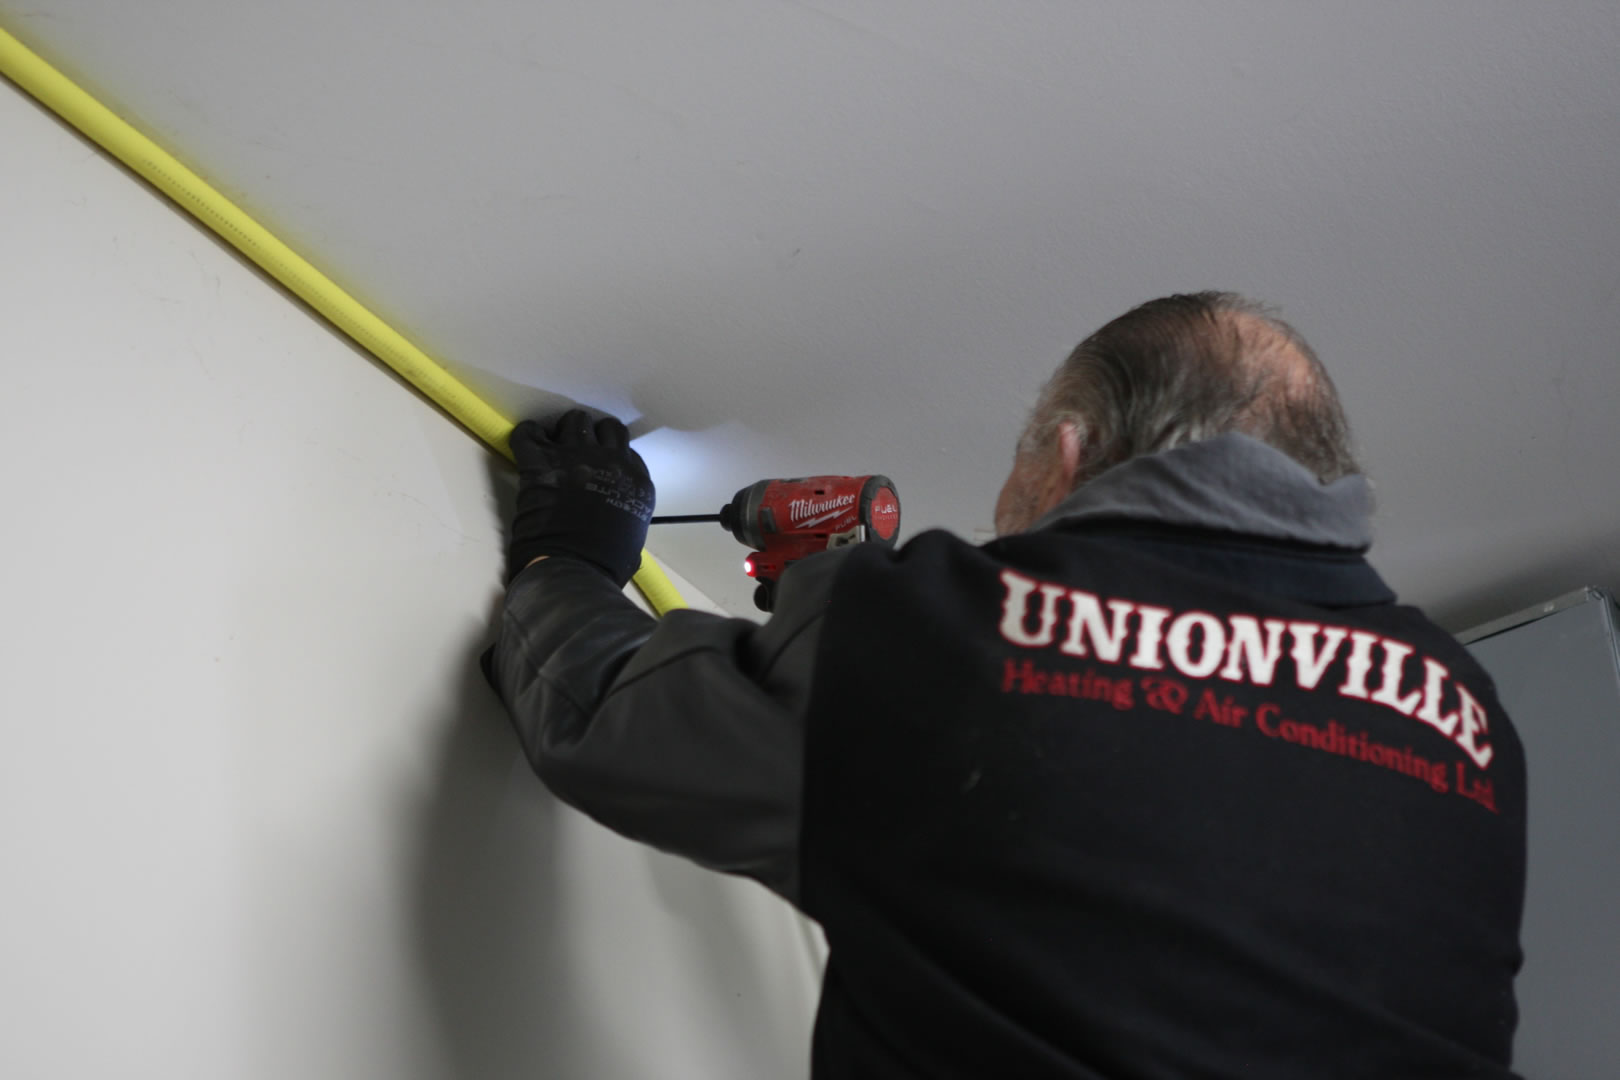
Step 6 : Clip the gas hose to the wall.
The Installation Manager uses clips to attach the gas hose to the exterior drywall. The garage space is insulated and drywalled in this installation.
Step 6 : Clip the gas hose to the wall.
Step 7 : Secures the flexible gas supply hose to the furnace.
The Installation Manager secures the flexible gas supply hose to the gas inlet on the furnace.
Step 7 : Secures the flexible gas supply hose to the furnace.
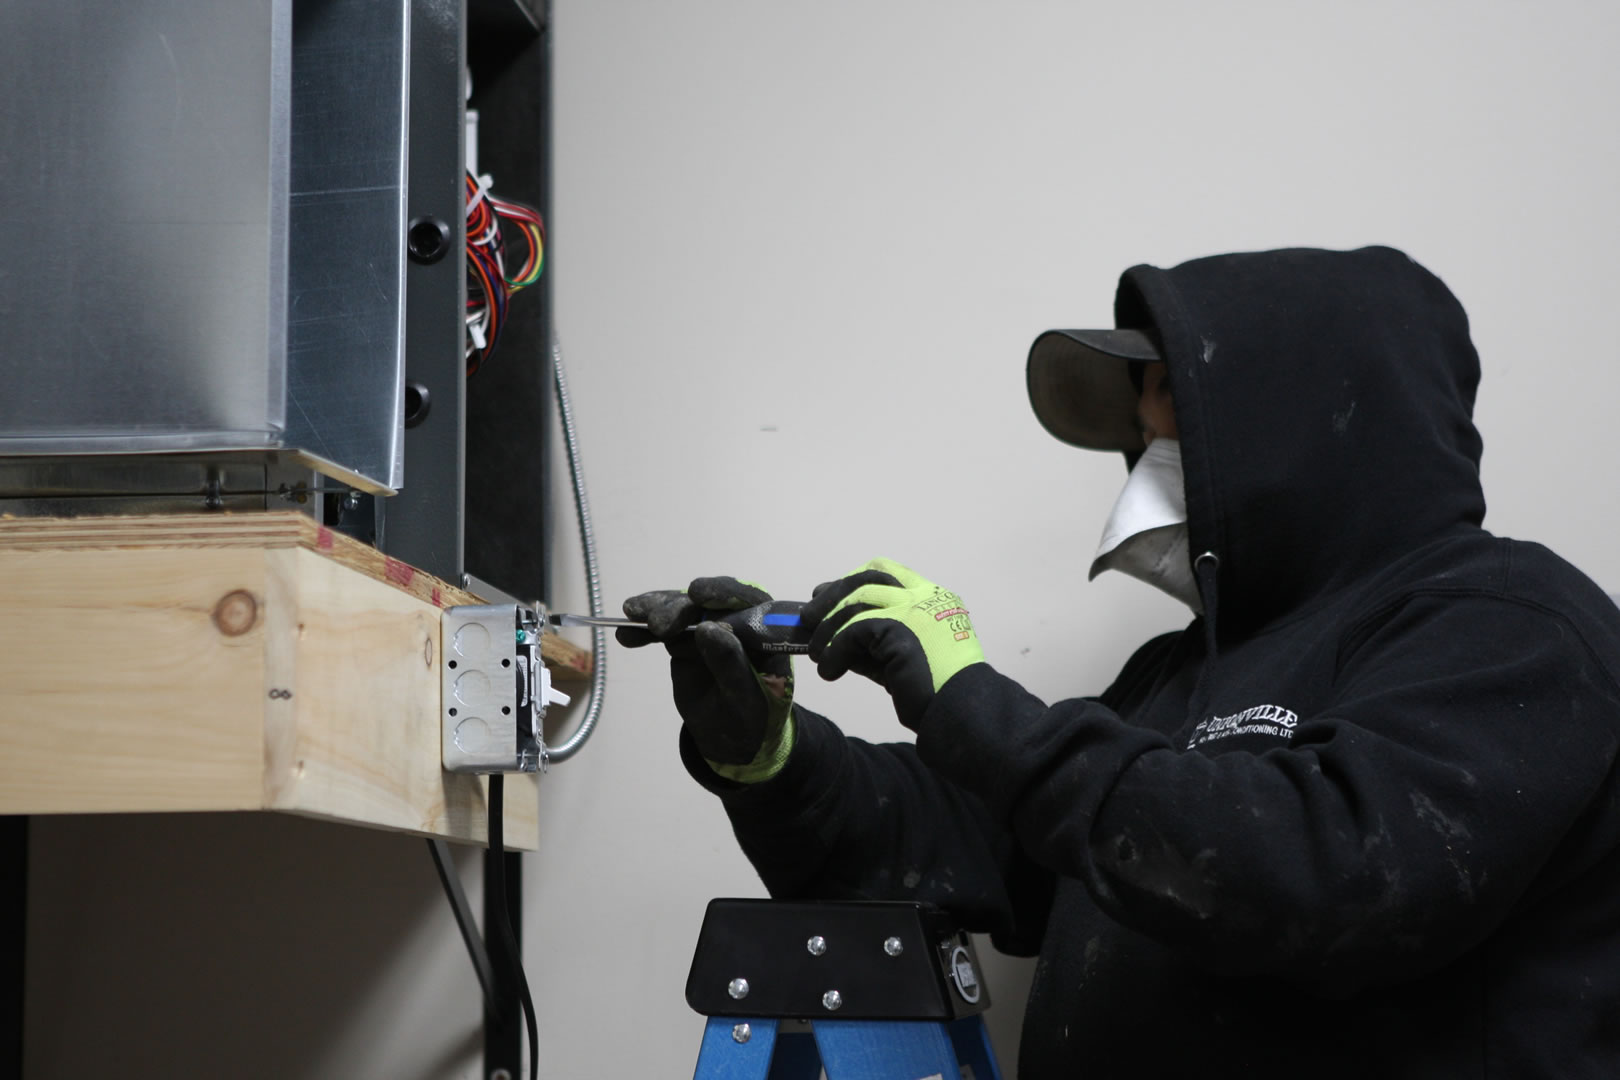
Step 8 : Install electrical shut off.
The Technician installs the main shut off power switch.
Step 8 : Install electrical shut off.
Step 9 : Attach drain hose.
The Technician attaches a drain hose to the condensation valve inside the furnace.
Step 9 : Attach drain hose.
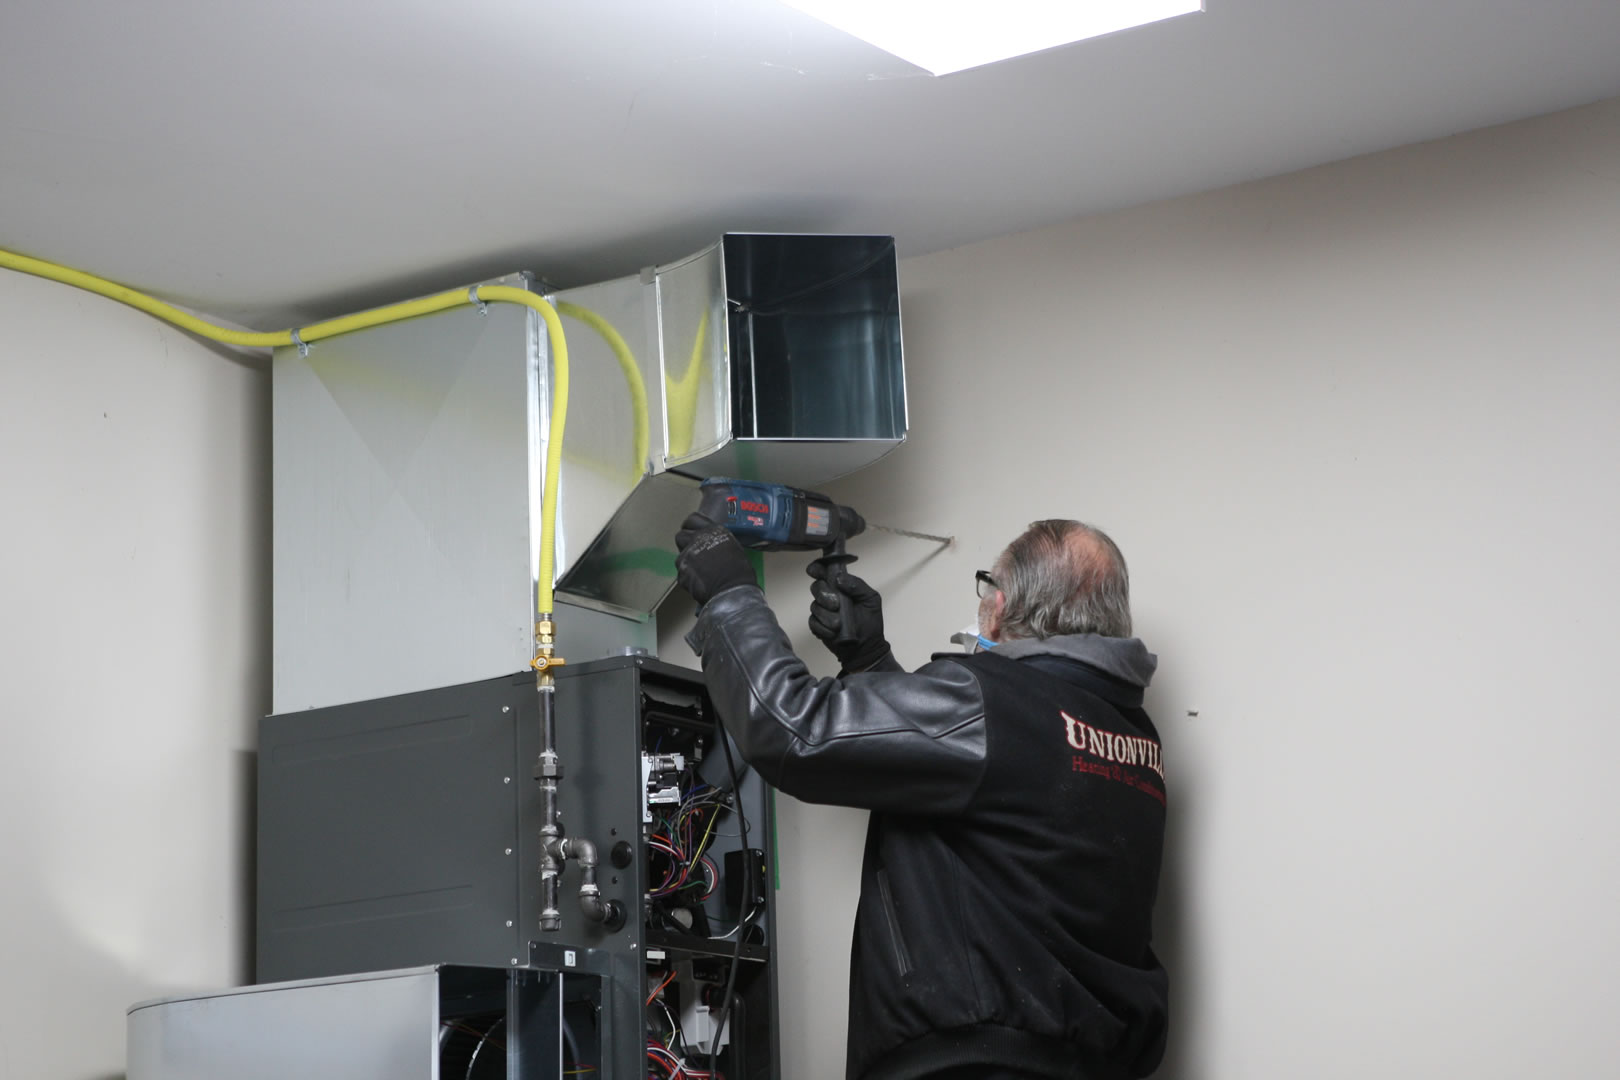
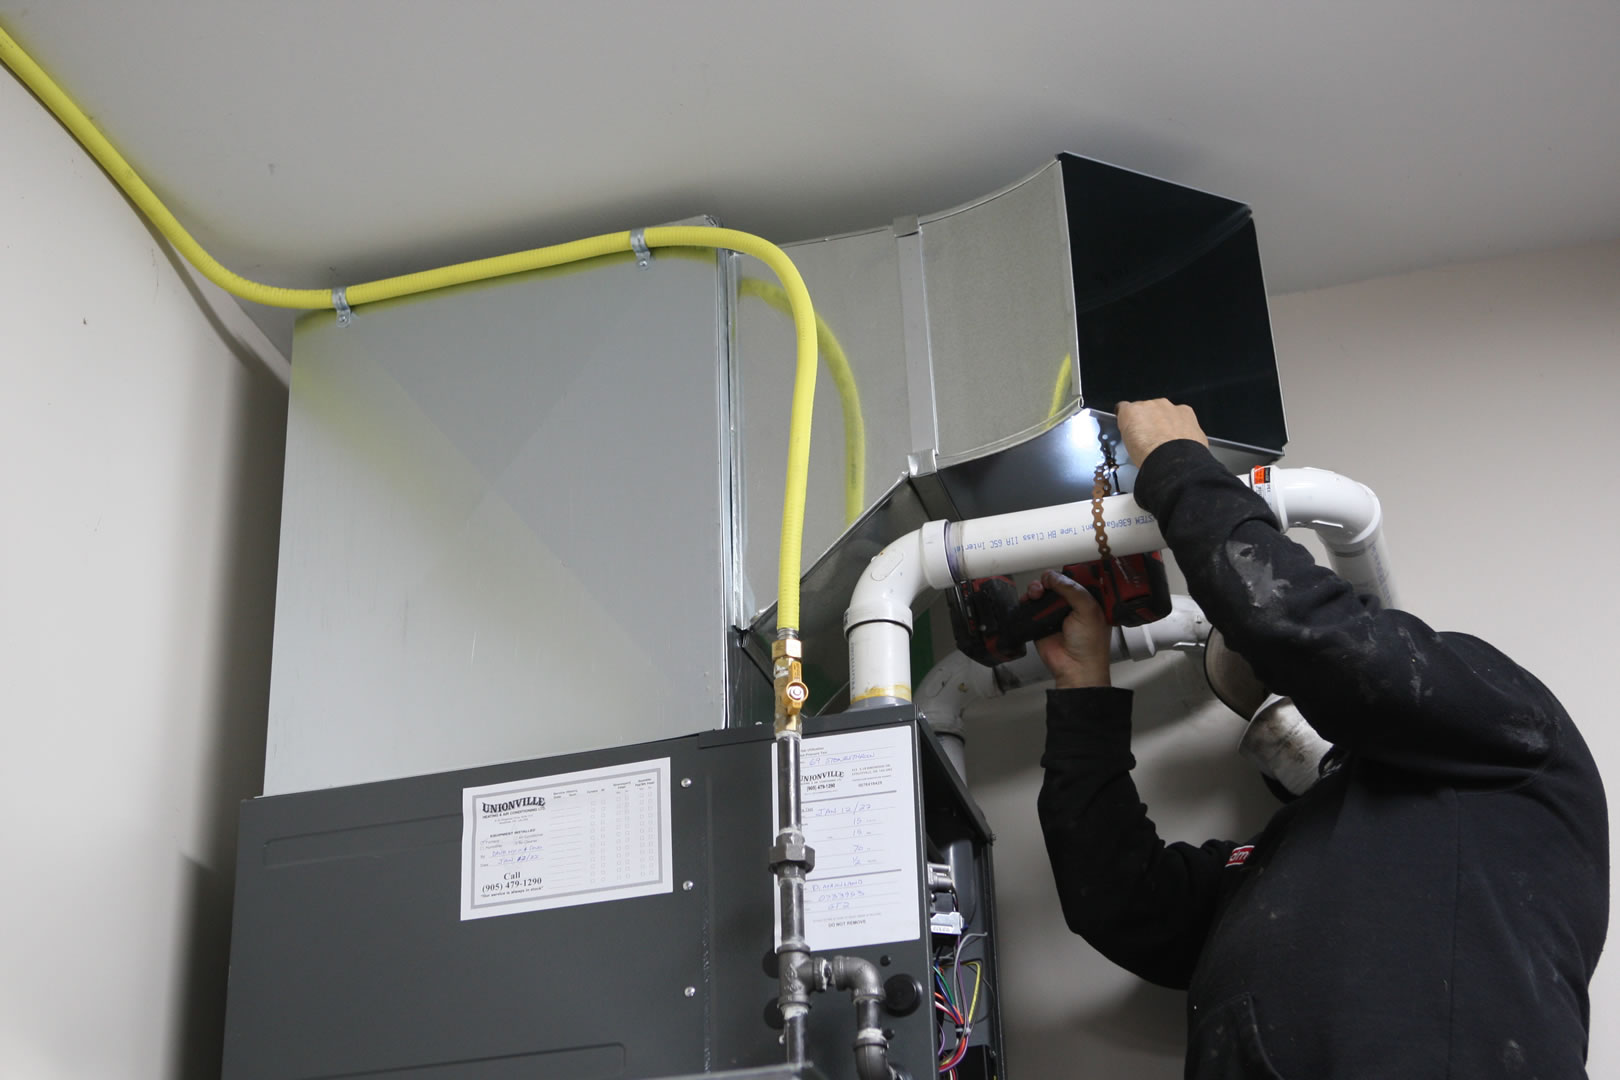
Step 10 : Drill holes in wall for PVC.
The Installation Manager prepares the location for the PVC air intake and exhaust by drilling a pilot hole through to the exterior wall.
Step 10 : Drill holes in wall for PVC.
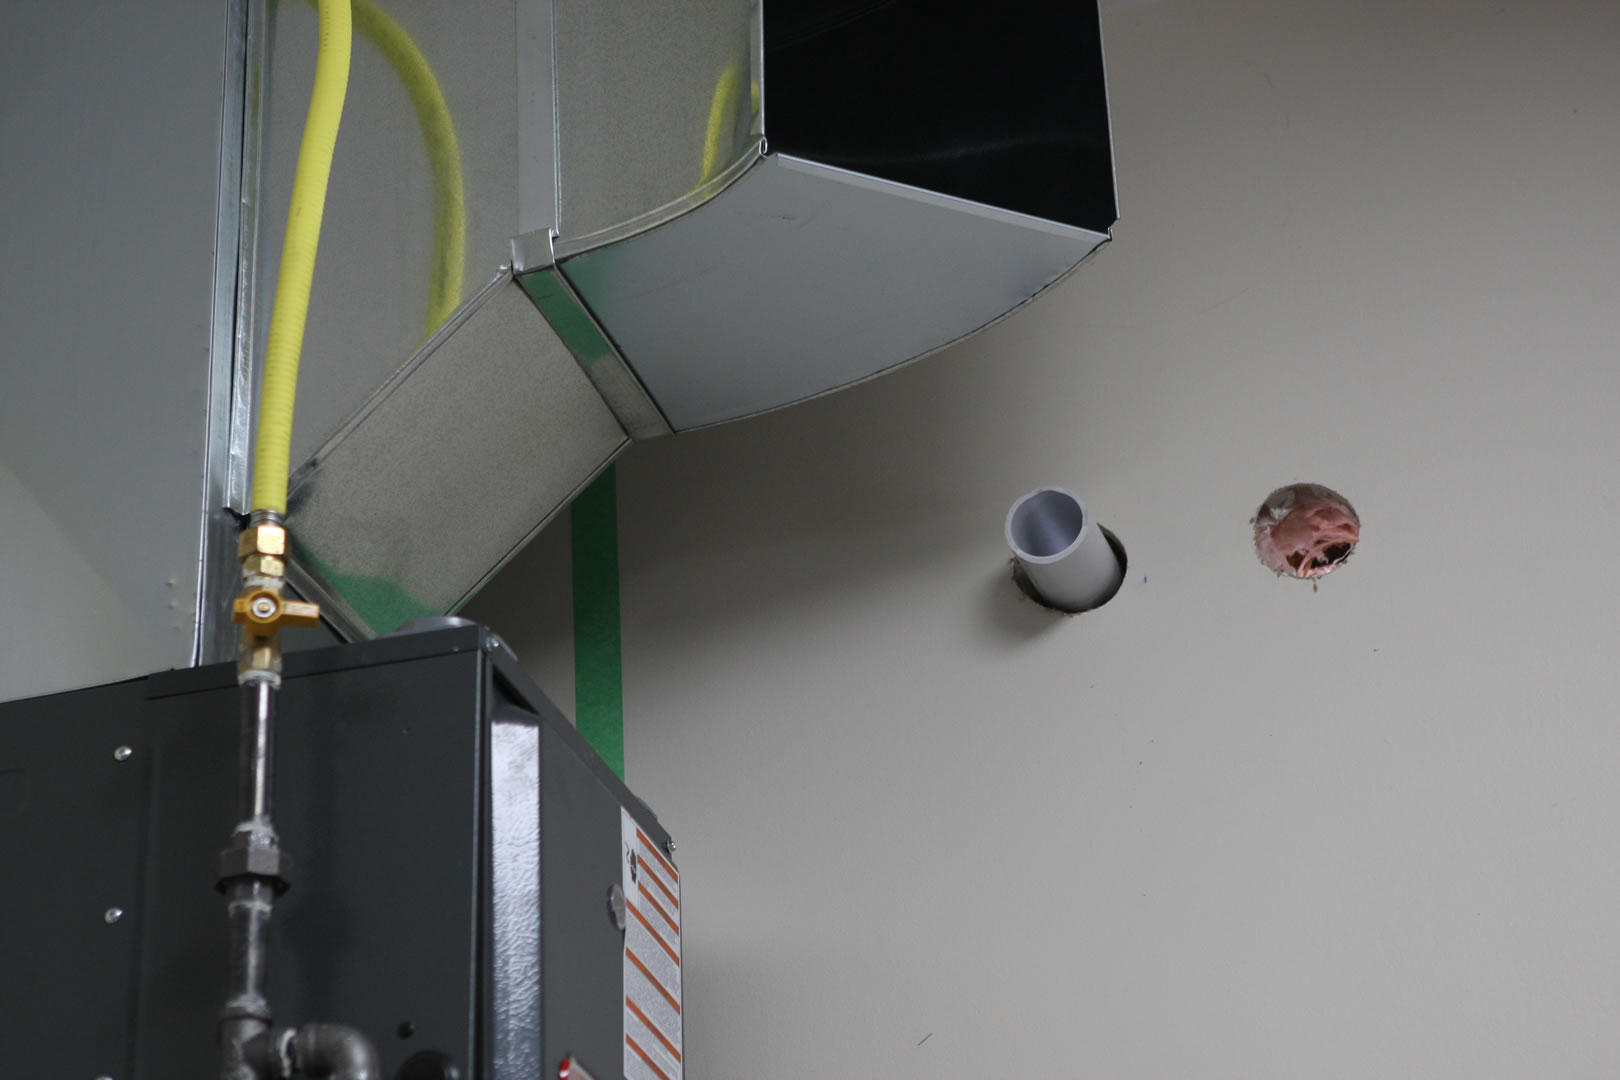
Step 11 : Dry fit PVC pipes through wall.
Here you can see one of the PVC pipes going through to the exterior of the garage.
Step 11 : Dry fit PVC pipes through wall.
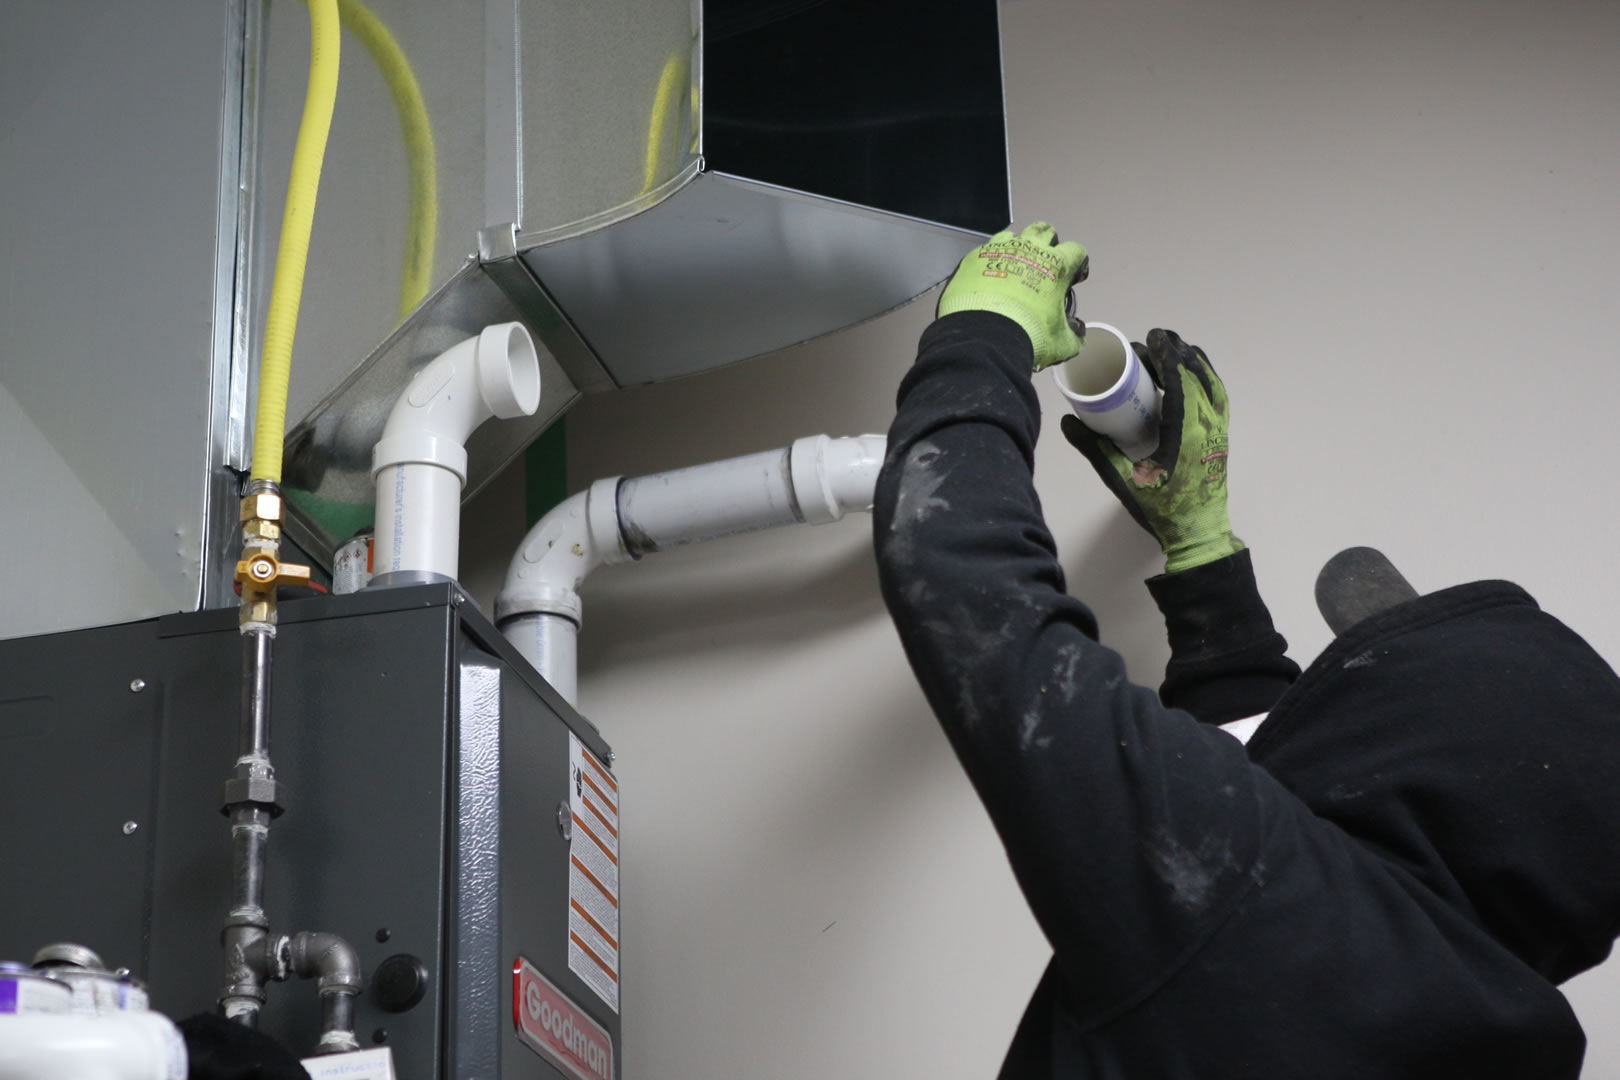
Step 12 : Connect PVC piping.
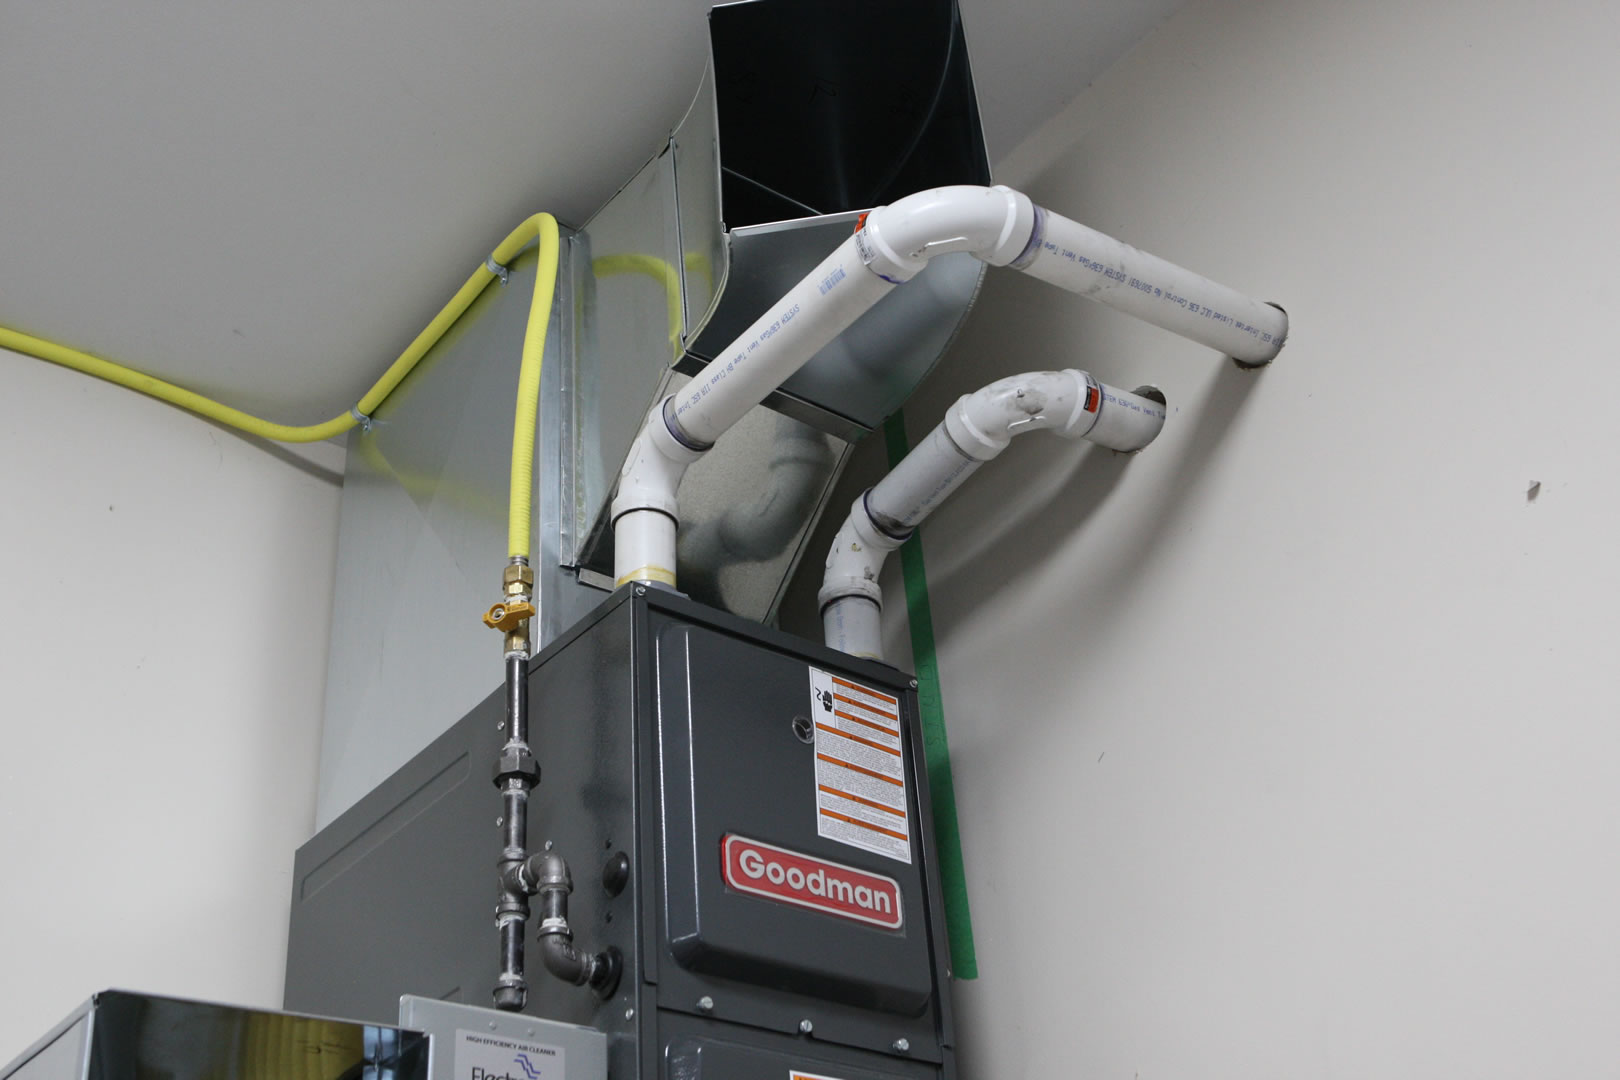
The technician cuts and connects all of the pieces of PVC piping going from the top of the furnace to the exterior of the garage.
Step 12 : Connect PVC piping.
Step 13 : Secure the gas line in the basement.
The Installation Manager secures the gas line with clips to the joist of the unfinished basement near the gas source.
Step 13 : Secure the gas line in the basement.
Step 14 : Install gas shut off valve.
A shut-off valve is installed from the main gas source.
Step 14 : Install gas shut off valve.
Step 15 : Attach gas line to shut off valve.
The flexible gas line is attached to the shut-off valve.
Step 15 : Attach gas line to shut off valve.
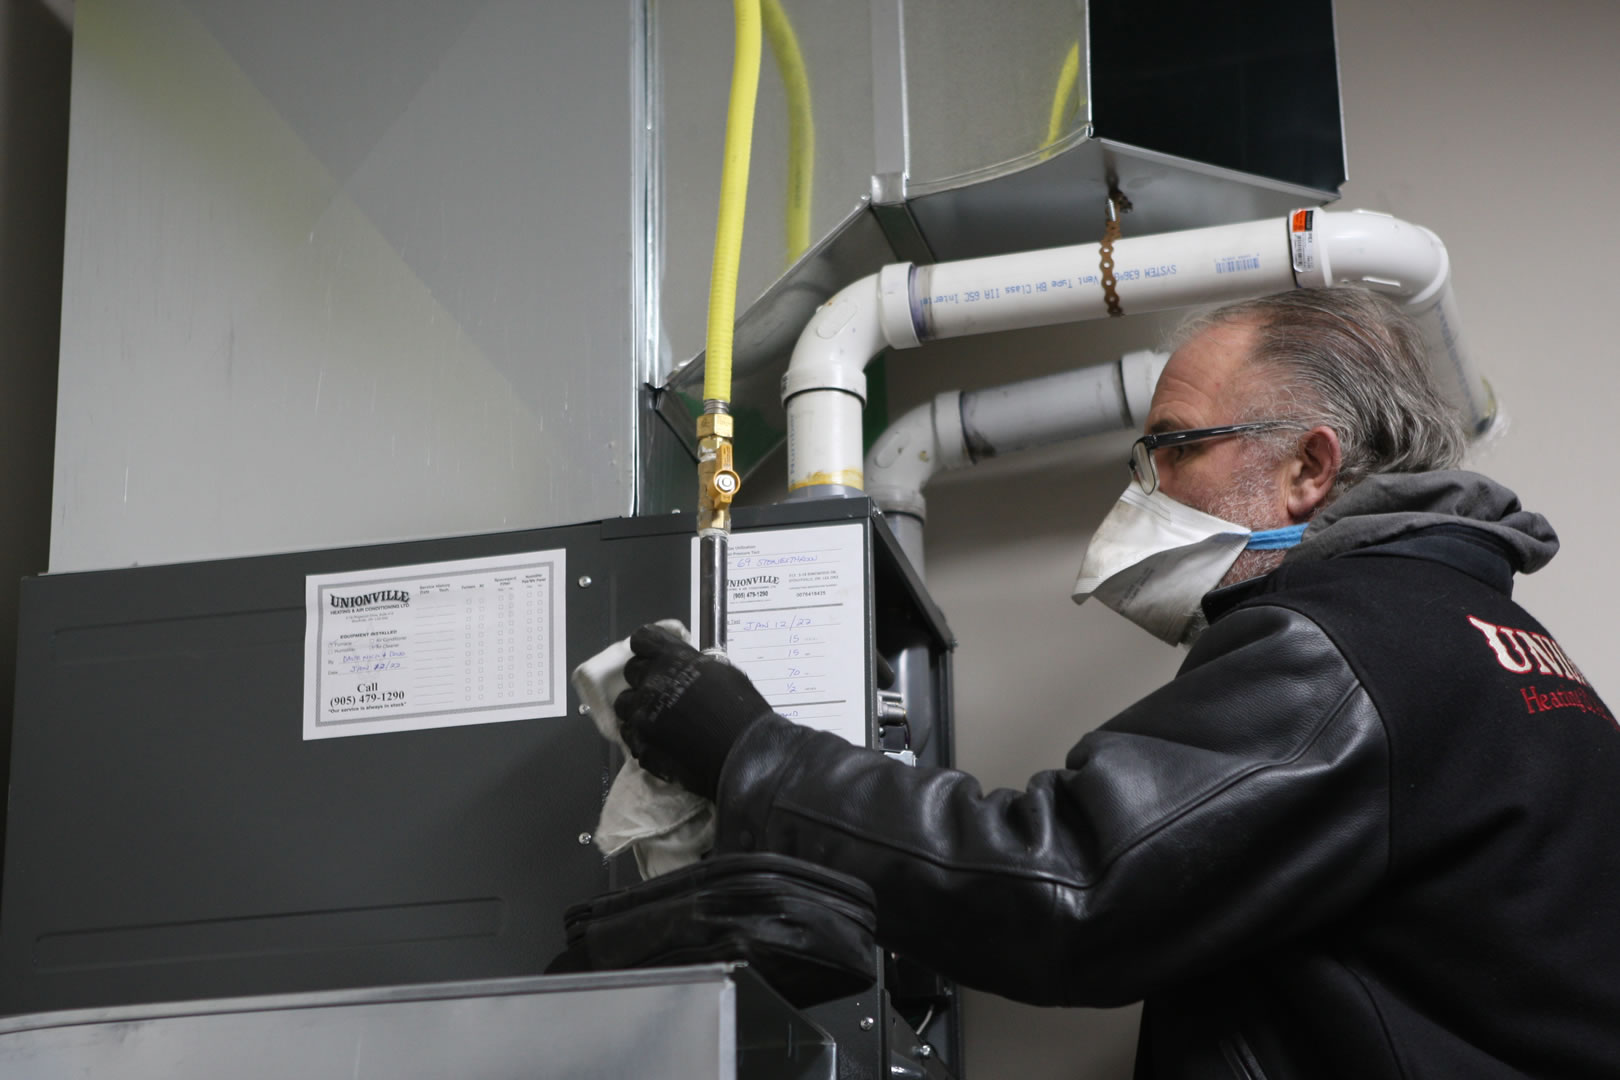
Step 16 : Prepare for startup.
The furnace is nearly ready for startup.
Step 16 : Prepare for startup.
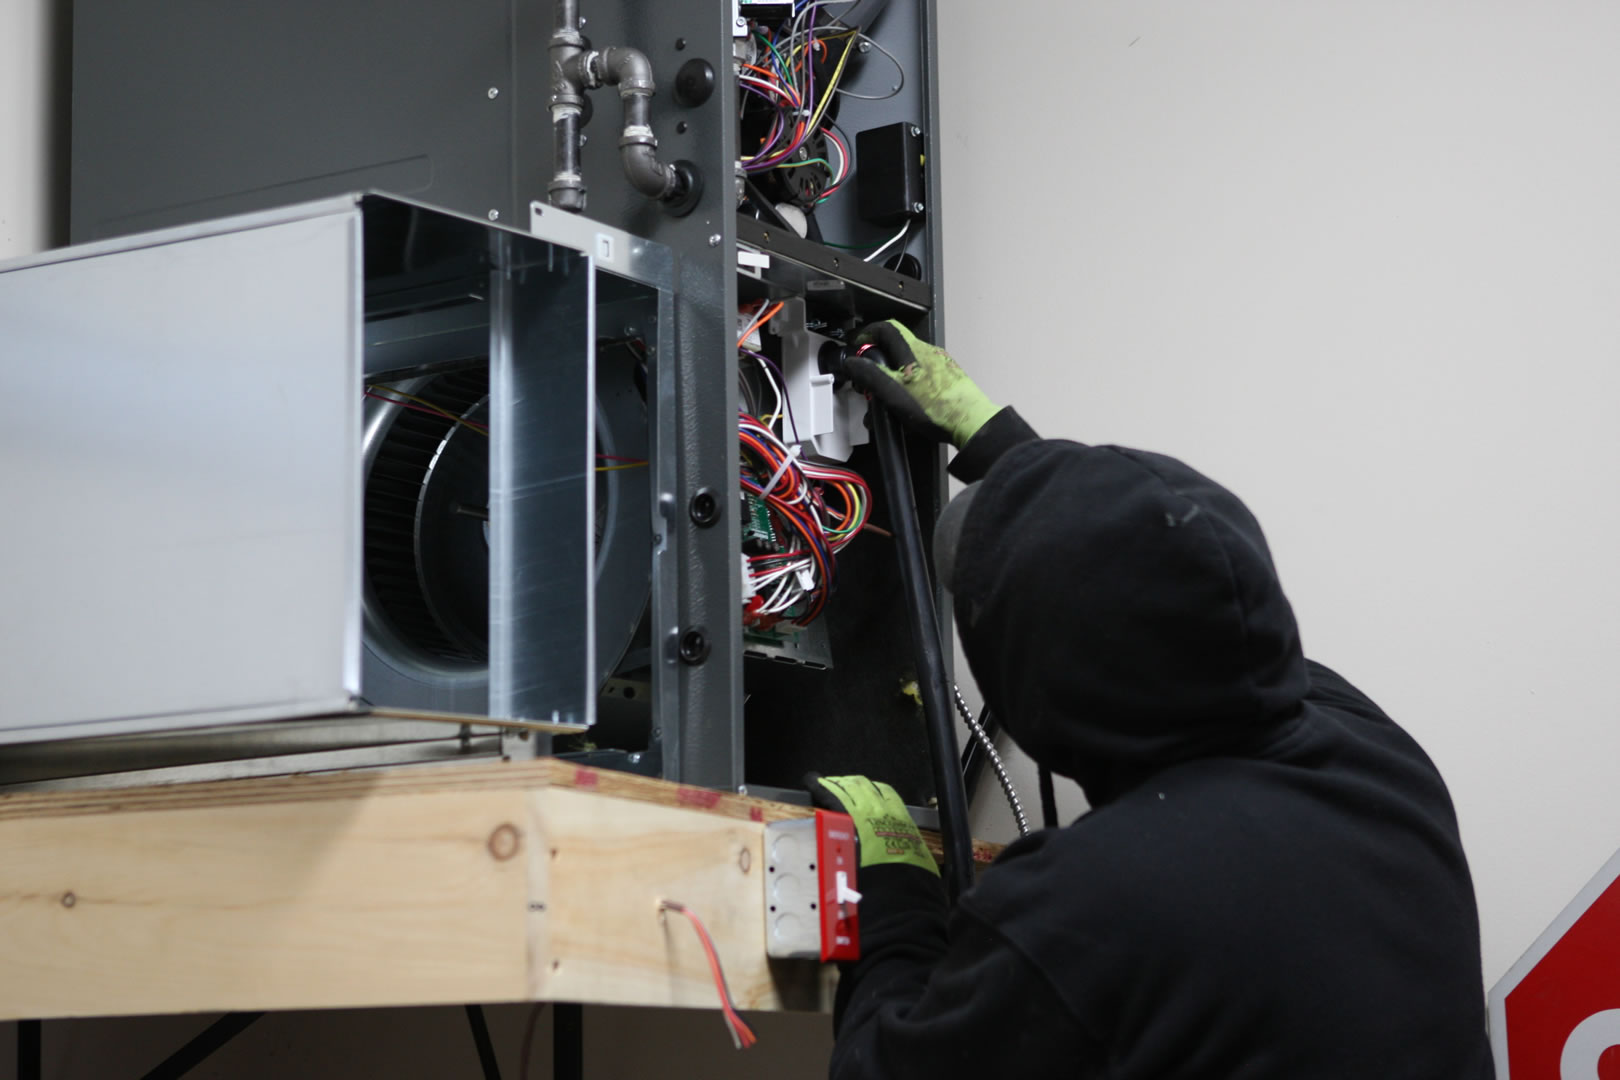
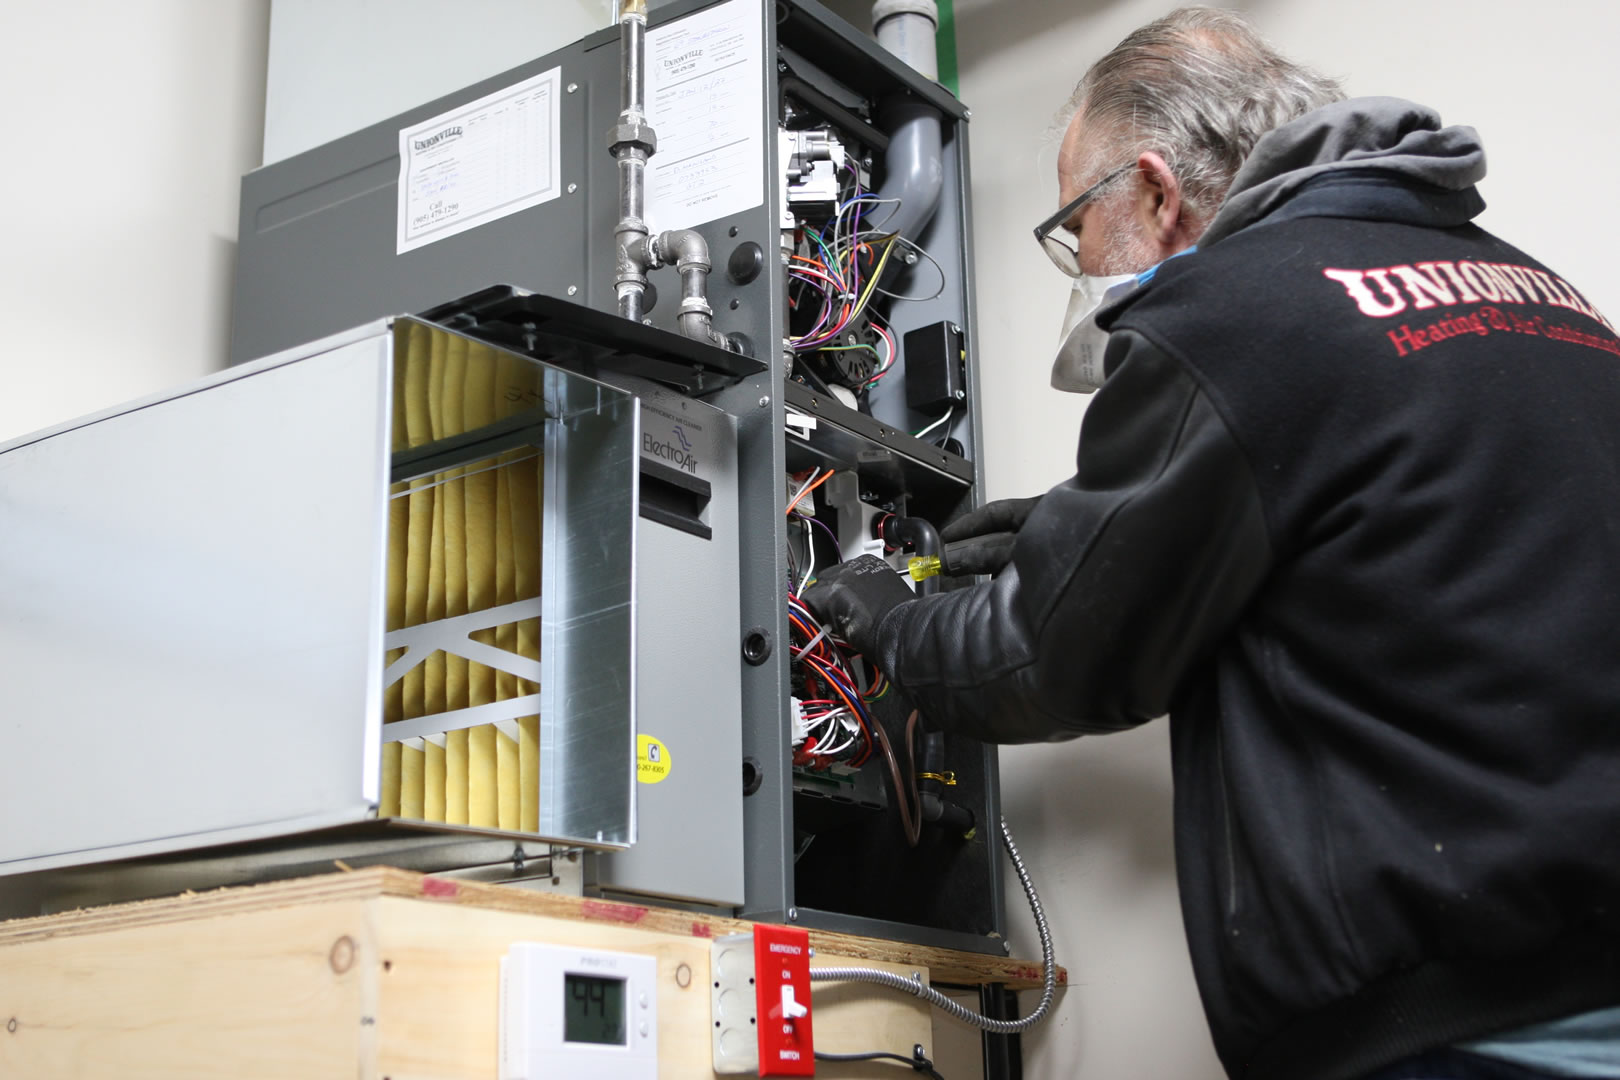
Step 17 : Adjust controls for startup.
The Installation Manager makes some final adjustments to the furnace controls.
Step 17 : Adjust controls for startup.
Step 18 : Install support hangers for PVC pipes.
The Technician installs supports for the intake and exhaust PVC pipes.
Step 18 : Install support hangers for PVC pipes.
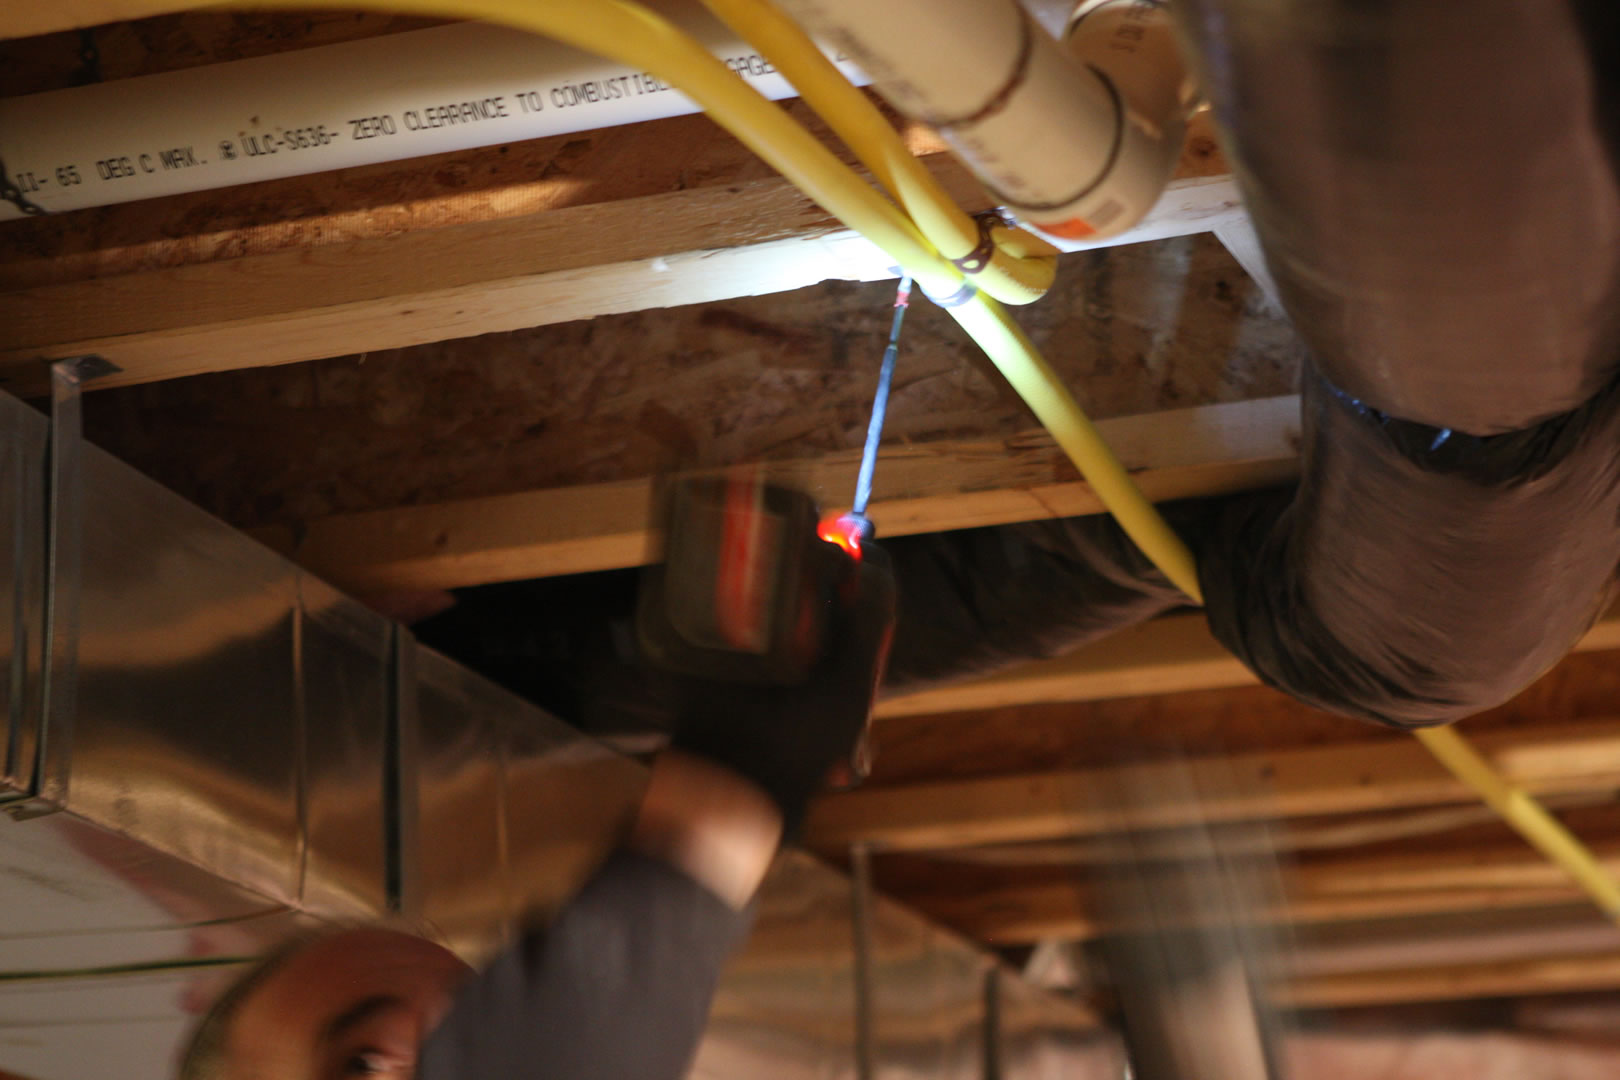
Step 19 : Perform leak test.
The Installation Manager performs a final leak test on the gas connections.
Step 19 : Perform leak test.
Step 20 : Run furnace.
The installation is complete with a digital thermostat and a gas tag. A simple air return is all that we need in this one-room setup. Warm air blows out of the top of the furnace from the plenum and through a single large vent. This two-stage gas furnace has a high and low setting on the gas burner. It also has a quiet two-speed induced draft blower. The blower can output 743 CFM on low and 939 CFM on high. The entire garage air exchanges once every 10 minutes. If the garage thermostat is set for a lower temperature when not in use, it won’t take long to heat the garage to a higher temperature when needed.
Step 20 : Run furnace.
Step 21 : Complete masonry around PVC pipes.
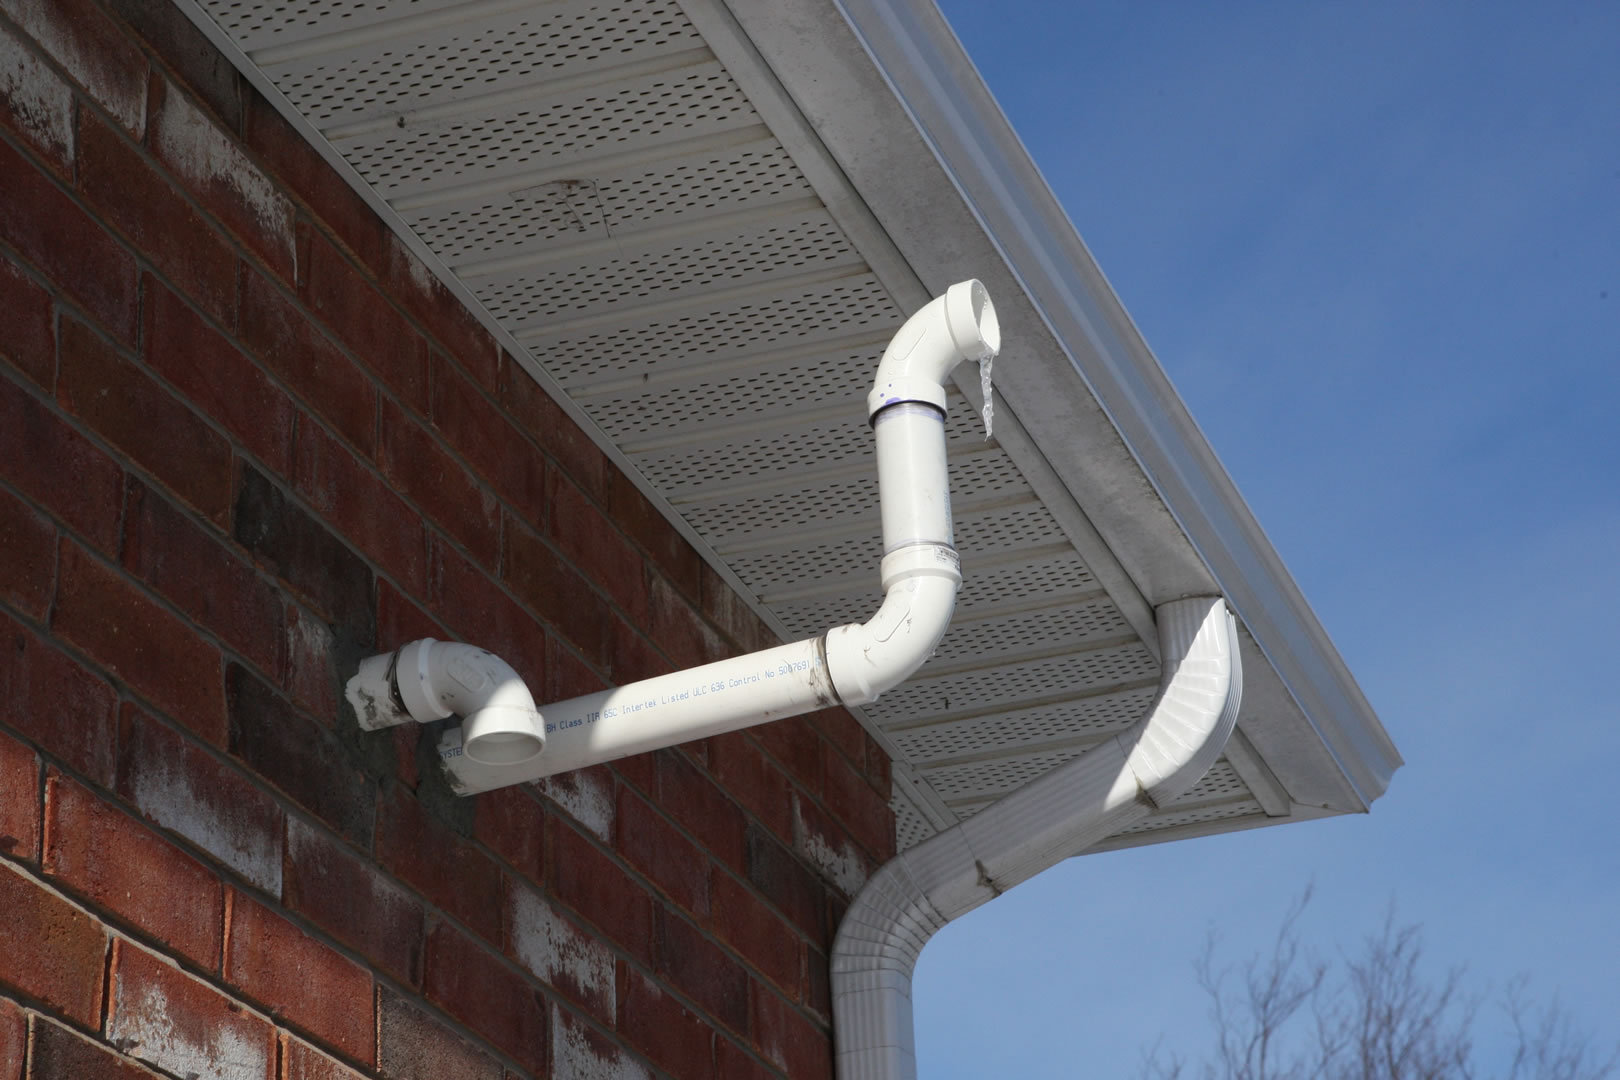
Venting on the outside is complete with masonry around the PVC pipes.
Step 21 : Complete masonry around PVC pipes.

Click here to  get a Quote for a garage heater installation in York or Durham Region.